BUILDING 3D
MEDICAL SIMULATIONS
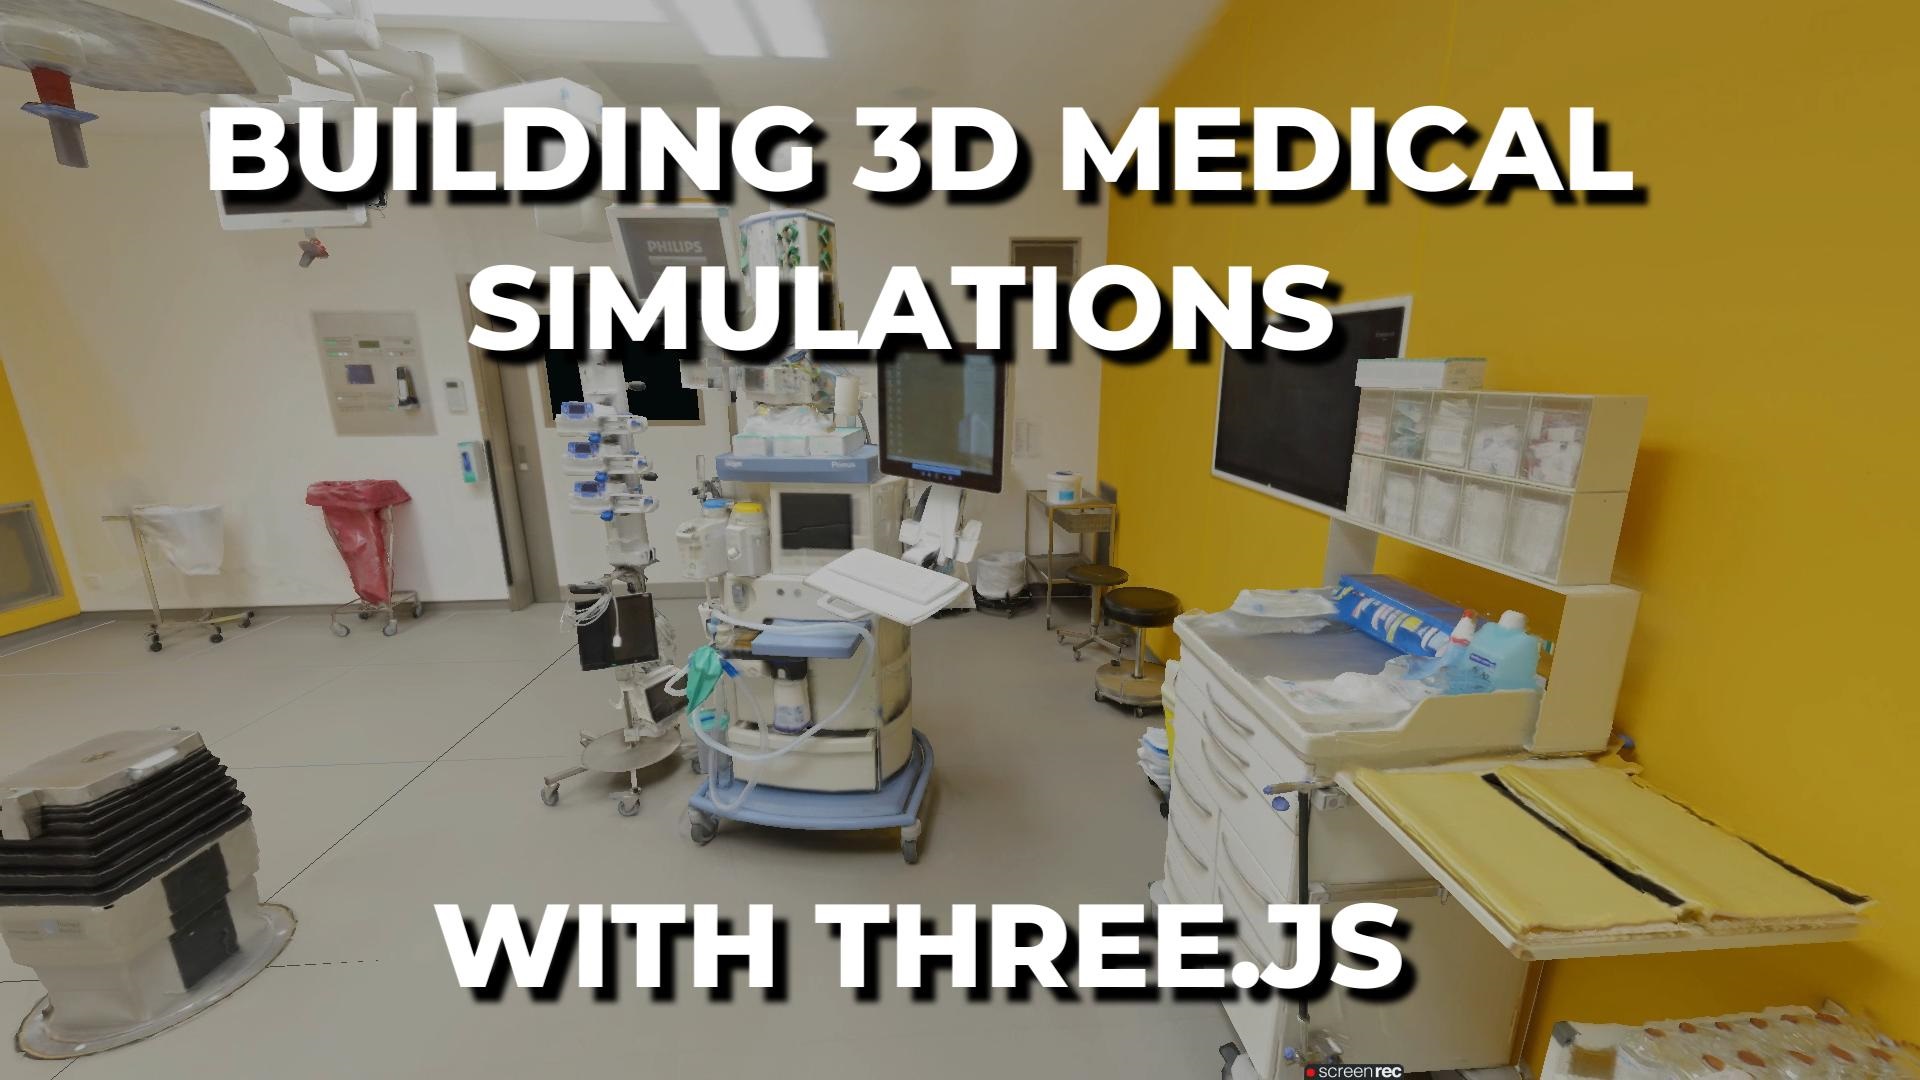
Build immersive medical training environments using Three.js. Walk through a virtual operating room with first-person controls, GLTF model loading, and collision detection.
By Shane Brumback · May 26, 2026
Introduction
The world of web-based medical education has seen tremendous growth thanks to WebGL and the powerful Three.js library. Three.js makes it possible to create complex, high-performance, interactive 3D environments that run smoothly in any modern web browser without plugins or installations. This technology is revolutionizing medical training by allowing educators and developers to build realistic simulated environments where medical students, residents, and practicing professionals can practice procedures and explore human anatomy in three dimensions.
Using Three.js, developers can load detailed 3D models of hospital operating rooms, surgical tools, patient avatars, and anatomical structures. The library supports physically-based rendering, advanced lighting, shadows, particle systems, and real-time animations — all essential for creating believable medical training simulations. Trainees can walk through a virtual operating theater using first-person controls, interact with equipment, practice sterile techniques, or even rehearse complex surgical steps before ever touching a real patient.
In this tutorial, you'll build a complete first-person walkthrough of a 3D operating room. You'll learn how to load GLTF models, implement PointerLockControls for immersive mouse-look navigation, add WASD keyboard movement with acceleration, and implement boundary collision detection — all the core techniques needed for any interactive 3D training environment.
What You'll Learn
- Loading detailed GLTF/GLB 3D models into a Three.js scene
- Implementing PointerLockControls for immersive first-person navigation
- WASD keyboard movement with smooth acceleration
- Boundary collision detection to keep users within the environment
- Proper lighting setup for realistic medical visualization
- Responsive rendering that adapts to any screen size
Prerequisites
Basic Three.js knowledge (scene, camera, renderer setup). Familiarity with loading external 3D models is helpful but not required — we cover it step by step. You'll need a GLTF/GLB model file to load (any 3D environment model works).