YOUR FIRST THREE.JS SCENE
SPINNING CUBE
Build a colorful 3D spinning cube with lighting and smooth animation — your gateway into the world of Three.js and WebGL.
LIVE DEMO
The blue cube spinning behind this page is the live demo. Click and drag with the mouse to orbit. Scroll to keep reading — on mobile just swipe to scroll.
Frequently Asked Questions
How do you get started with Three.js?
Include the Three.js library via CDN or npm, create an HTML file with a script tag, and set up the three core components: a Scene, a PerspectiveCamera, and a WebGLRenderer. Add a simple mesh (like a cube) and an animation loop. The entire setup takes under 30 lines of code.
What is the minimum code needed for a Three.js spinning cube?
You need about 20-30 lines: create a scene, camera, and renderer. Create a BoxGeometry + MeshStandardMaterial, combine into a Mesh, add to scene. Add a light. Write an animate() function that rotates the cube and calls renderer.render(), then start it with requestAnimationFrame.
What is requestAnimationFrame and why is it used in Three.js?
requestAnimationFrame is a browser API that calls your function before the next screen repaint (~60 times per second). Unlike setInterval, it automatically pauses when the tab is hidden, syncs with the display refresh rate, and provides smooth frame timing. Every Three.js animation loop uses it.
Do you need to know WebGL to use Three.js?
No. Three.js completely abstracts WebGL behind a high-level API. You work with concepts like Scene, Camera, Mesh, Geometry, and Material — never writing raw shader code or managing GPU buffers directly. Three.js handles all the WebGL calls internally. Basic JavaScript knowledge is the only prerequisite.
Introduction
Three.js is the most popular JavaScript library for creating 3D graphics in the browser. It abstracts away the complexity of raw WebGL and gives you a clean, intuitive API to build everything from simple spinning shapes to full 3D games and interactive experiences — all running directly in a web page with no plugins or downloads required.
In this tutorial, you'll create your very first Three.js scene from scratch. We'll build a colorful cube that spins smoothly in 3D space, lit by a point light that casts soft shadows. The entire demo is under 100 lines of code and runs in any modern browser. This is the foundation that every Three.js project builds upon — once you understand scenes, cameras, renderers, meshes, and the animation loop, you can build anything.
No prior 3D experience is needed. If you can write basic HTML and JavaScript, you're ready to start. By the end of this tutorial, you'll have a working 3D scene and a solid understanding of how Three.js renders frames to the screen.
What You'll Learn
- How to set up a Three.js scene, camera, and renderer
- Creating 3D geometry (BoxGeometry) and materials (MeshStandardMaterial)
- Adding lighting to make objects visible and realistic
- The animation loop pattern (requestAnimationFrame)
- Handling window resize for responsive 3D
Prerequisites
Basic HTML and JavaScript knowledge. You should know what a <script> tag is and how variables and functions work. No 3D or WebGL experience needed — we start from zero.
How It Works
Every Three.js application has the same core structure: a Scene (the 3D world), a Camera (what you see), and a Renderer (draws it to the screen). You add objects to the scene, position the camera, and call renderer.render(scene, camera) every frame.
Objects in Three.js are called Meshes — a combination of Geometry (the shape) and Material (the surface appearance). In this tutorial, we use a BoxGeometry (cube shape) with a MeshStandardMaterial (physically-based surface that responds to light).
The Full Code
Copy this into a file named index.html and open it in any modern browser.
<!DOCTYPE html>
<html>
<head>
    <meta charset="utf-8">
    <title>My First Three.js Scene - Spinning Cube</title>
    <style>
        /* Remove default margins and fill the entire window */
        body { margin: 0; overflow: hidden; }
        canvas { display: block; }
    </style>
</head>
<body>
    <!-- Load Three.js from CDN -->
    <script src="https://cdn.jsdelivr.net/npm/three@latest/build/three.min.js"></script>

    <script>
    // ============================================================
    // STEP 1: CREATE THE SCENE
    // The scene is the 3D world that holds all your objects
    // ============================================================
    const scene = new THREE.Scene();
    scene.background = new THREE.Color(0x1a1a2e);  // Dark blue background

    // ============================================================
    // STEP 2: CREATE THE CAMERA
    // The camera defines what the viewer sees
    // PerspectiveCamera(fieldOfView, aspectRatio, near, far)
    // ============================================================
    const camera = new THREE.PerspectiveCamera(
        75,                             // Field of view (degrees)
        window.innerWidth / window.innerHeight,  // Aspect ratio
        0.1,                            // Near clipping plane
        1000                            // Far clipping plane
    );
    camera.position.z = 4;  // Move camera back so we can see the cube

    // ============================================================
    // STEP 3: CREATE THE RENDERER
    // The renderer draws the scene to a canvas element
    // ============================================================
    const renderer = new THREE.WebGLRenderer({ antialias: true });
    renderer.setSize(window.innerWidth, window.innerHeight);
    renderer.setPixelRatio(window.devicePixelRatio);
    document.body.appendChild(renderer.domElement);  // Add canvas to page

    // ============================================================
    // STEP 4: CREATE A CUBE
    // A Mesh = Geometry (shape) + Material (surface)
    // ============================================================
    const geometry = new THREE.BoxGeometry(1.5, 1.5, 1.5);  // Width, Height, Depth

    const material = new THREE.MeshStandardMaterial({
        color: 0x2563eb,      // Blue color
        metalness: 0.3,       // Slightly metallic
        roughness: 0.4,       // Slightly smooth
    });

    const cube = new THREE.Mesh(geometry, material);
    scene.add(cube);  // Add the cube to the scene

    // ============================================================
    // STEP 5: ADD LIGHTING
    // Without light, MeshStandardMaterial appears black!
    // ============================================================

    // Point light - like a light bulb in 3D space
    const pointLight = new THREE.PointLight(0xffffff, 1.5, 50);
    pointLight.position.set(3, 3, 5);  // Position the light
    scene.add(pointLight);

    // Ambient light - soft fill light everywhere (no shadows)
    const ambientLight = new THREE.AmbientLight(0xffffff, 0.3);
    scene.add(ambientLight);

    // ============================================================
    // STEP 6: ANIMATION LOOP
    // This function runs ~60 times per second
    // ============================================================
    function animate() {
        requestAnimationFrame(animate);  // Schedule next frame

        // Rotate the cube a little each frame
        cube.rotation.x += 0.01;   // Rotate around X axis
        cube.rotation.y += 0.015;  // Rotate around Y axis

        // Draw the scene from the camera's perspective
        renderer.render(scene, camera);
    }

    // ============================================================
    // STEP 7: HANDLE WINDOW RESIZE
    // Keep the scene looking correct if the window size changes
    // ============================================================
    window.addEventListener('resize', () => {
        camera.aspect = window.innerWidth / window.innerHeight;
        camera.updateProjectionMatrix();
        renderer.setSize(window.innerWidth, window.innerHeight);
    });

    // Start the animation!
    animate();
    </script>
</body>
</html>
Code Breakdown
Let's walk through each section of the code to understand exactly what's happening.
Step 1: The Scene
The THREE.Scene() is the container for everything in your 3D world. Think of it as an empty room — you'll add objects, lights, and cameras to it. The scene.background sets the color you see behind all objects.
Step 2: The Camera
PerspectiveCamera simulates how human eyes see — objects farther away appear smaller. The four parameters are:
- Field of View (75°) — how wide the camera sees. Higher = more fisheye.
- Aspect Ratio — width/height of the viewport. Keeps things from looking stretched.
- Near (0.1) — anything closer than this is invisible.
- Far (1000) — anything farther than this is invisible.
We position the camera at z = 4 so it's looking at the origin (0,0,0) where our cube will be, from 4 units away.
Step 3: The Renderer
WebGLRenderer creates a <canvas> element and uses WebGL to draw 3D graphics on it. antialias: true smooths jagged edges. We set it to fill the full window and append it to the page body.
Step 4: The Cube (Mesh)
A Mesh is the fundamental visible object in Three.js. It combines:
- Geometry — the shape.
BoxGeometry(1.5, 1.5, 1.5)creates a cube 1.5 units on each side. - Material — the surface.
MeshStandardMaterialis physically-based, meaning it responds realistically to light. Themetalnessandroughnessproperties control how shiny it looks.
Step 5: Lighting
Without light, MeshStandardMaterial renders as pure black. We add two lights:
- PointLight — emits light in all directions from a single point (like a light bulb). Creates highlights and shadows on the cube's faces.
- AmbientLight — adds a soft, even light everywhere so no face is completely dark. Think of it as indirect light bouncing off walls.
Step 6: The Animation Loop
requestAnimationFrame(animate) tells the browser to call our animate function before the next screen repaint (~60 times per second). Each frame, we rotate the cube slightly and re-render. This creates smooth, continuous animation. Without this loop, you'd see a single static frame.
Step 7: Resize Handling
If the user resizes their browser window, we need to update the camera's aspect ratio and the renderer's size. Without this, the scene would look stretched or cropped after a resize.
Next Steps
Now that you have a working 3D scene, try these experiments:
- Change the cube's color by modifying the
colorvalue (use hex like0xff6600for orange) - Replace
BoxGeometrywithSphereGeometry(1, 32, 32)to make a sphere - Add a second cube at a different position:
cube2.position.set(3, 0, 0) - Make the rotation speed respond to mouse position
- Try
MeshBasicMaterialinstead — it doesn't need light (flat color, no shading)
SEE 3D AND 2D BROWSER GAMES IN ACTION
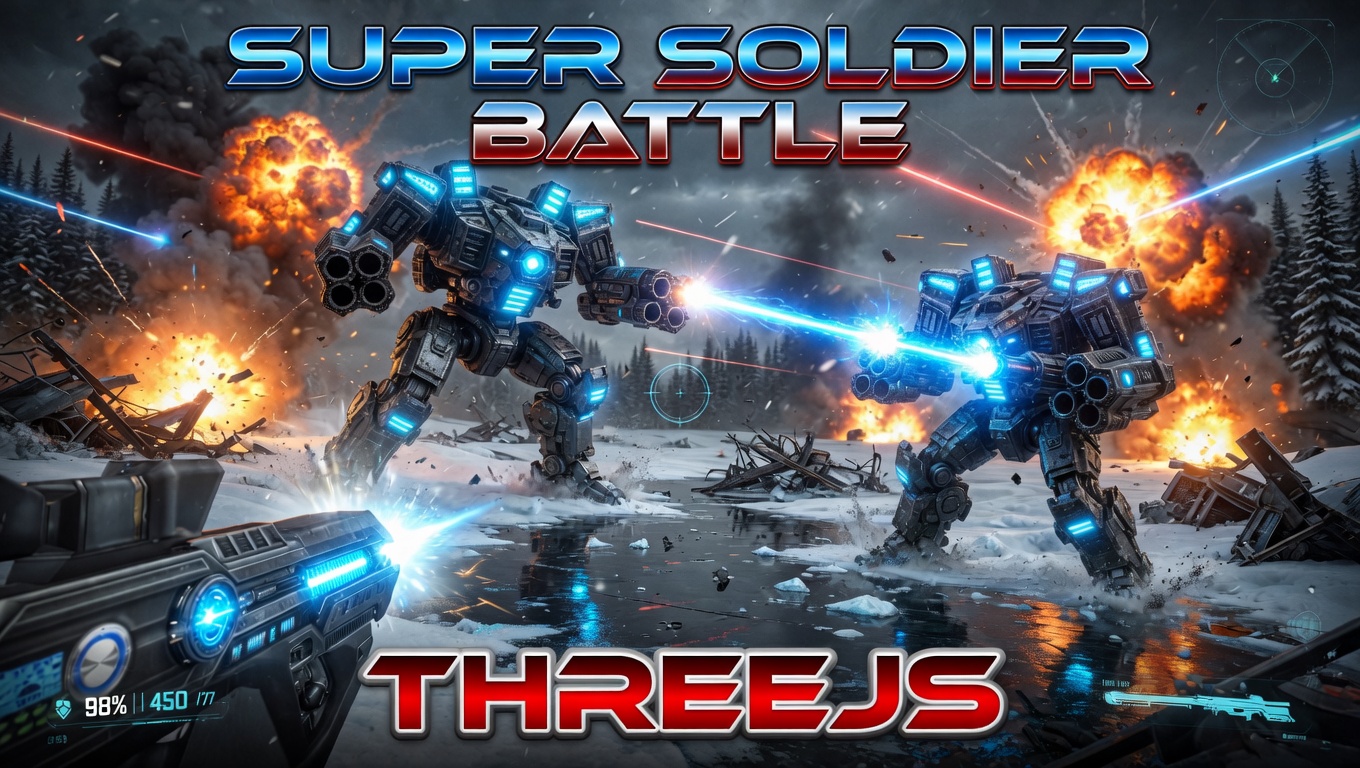
Super Soldier Battle
A free multiplayer 3D FPS that runs right in your browser — built with Three.js and WebGL.

AI Tic-Tac-Toe
Play tic-tac-toe against an unbeatable AI opponent. Free, no download, plays in the browser.
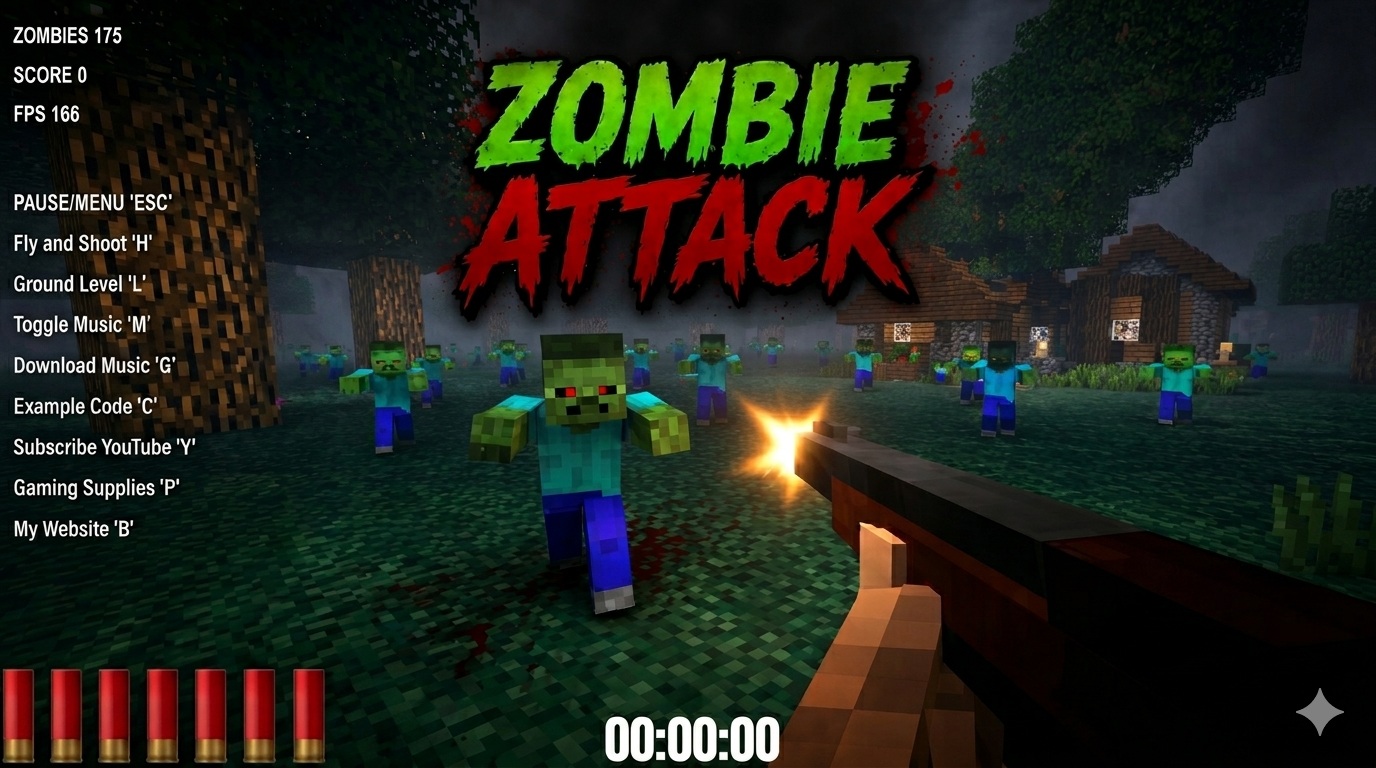
Zombie Attack
Survive waves of zombies in this free 3D browser shooter built with Three.js. No download, plays instantly.
Play now →
Space Wow
Blast through space in this free 3D Three.js arcade shooter. Free, no download, plays right in your browser.
Play now →