Exploring Interactive Visuals

Three.js Particle System with Mouse Collision Detection

Published on


Introduction

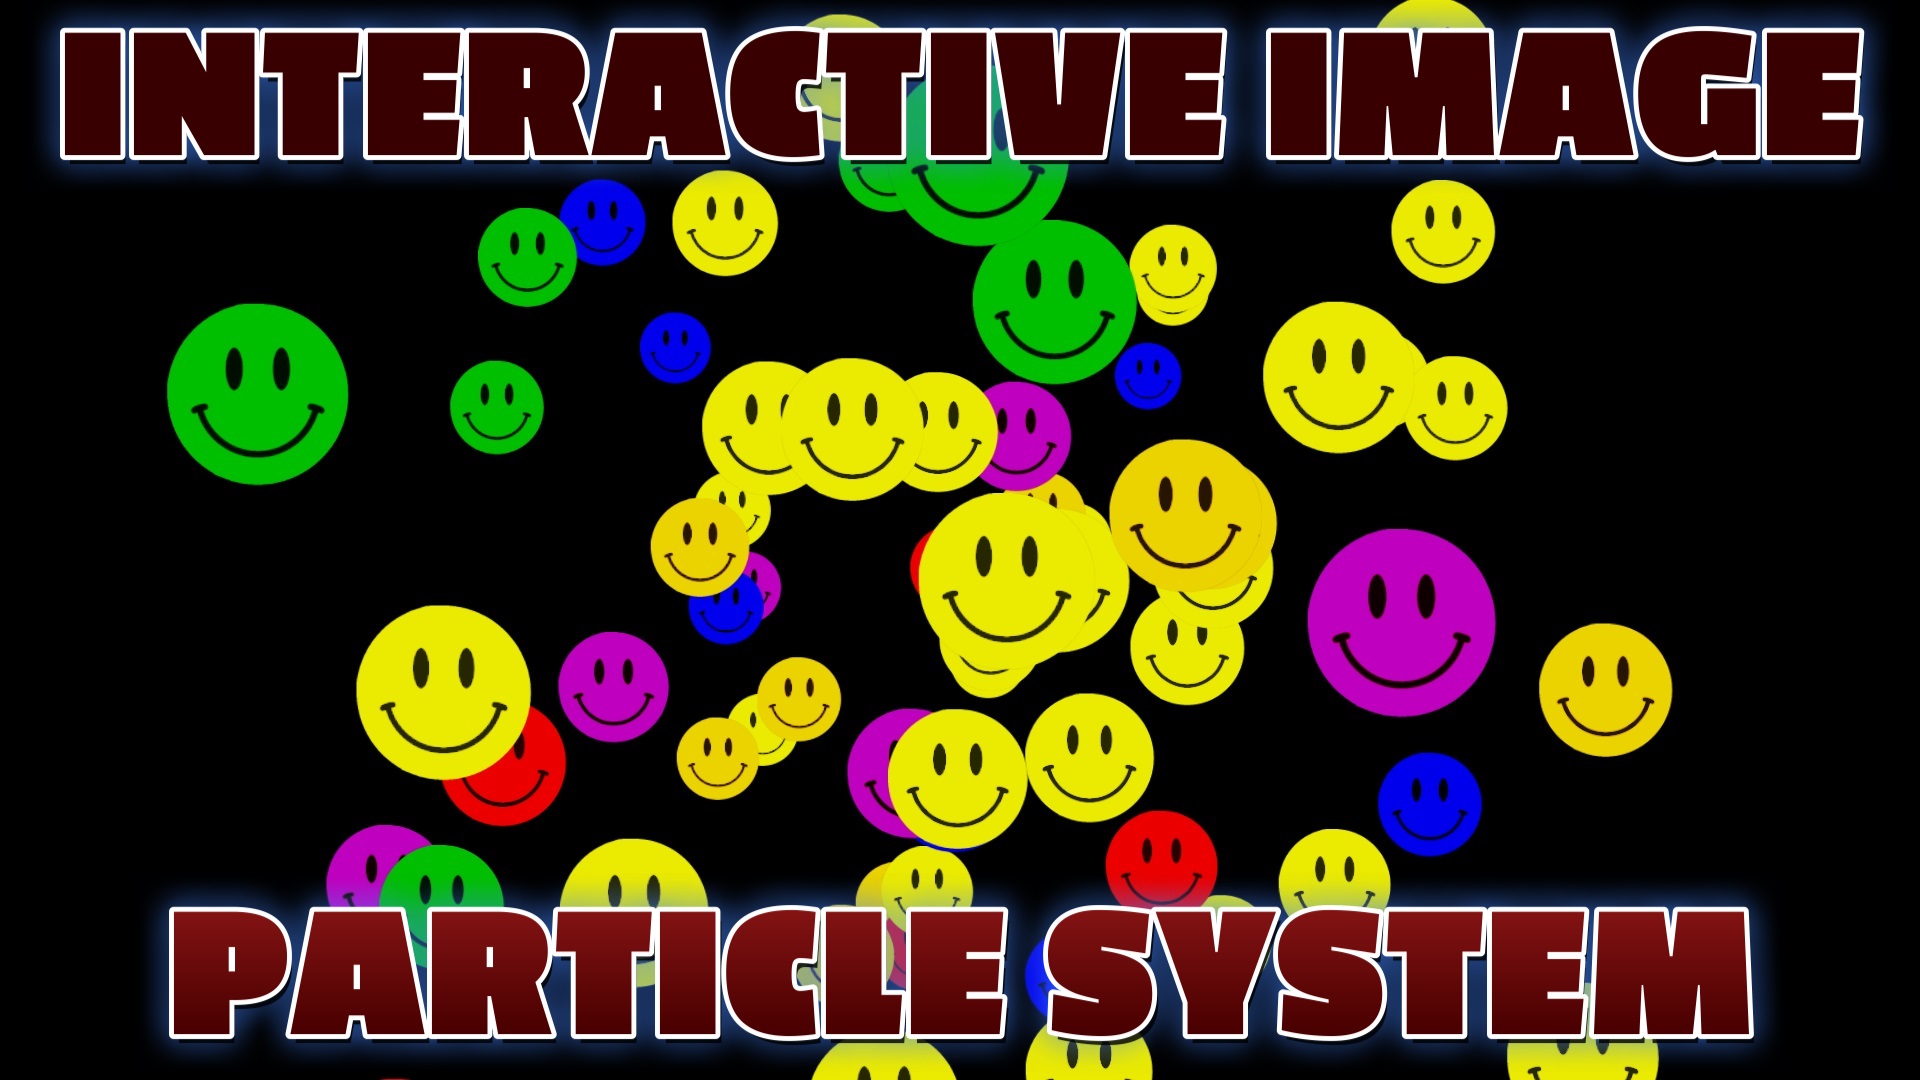
In the world of web development, creating captivating and interactive visuals is essential to engage users. Three.js, a popular JavaScript library, empowers developers to bring their ideas to life by leveraging the power of WebGL. One fascinating feature of Three.js is its particle system, which allows for the creation of stunning visual effects. In this article, we will delve into the realm of Three.js particle systems and explore how to implement mouse collision detection to enhance interactivity and user engagement.

This site contains examples of Three.js 3D FPS games and effects to help demonstrate how Three.js can be used to program interactive apps and games on a website. Contact me if you would like more information on adding 3D interactive apps to your website.

Understanding Particle Systems in Three.js

Before diving into mouse collision detection, let's briefly understand particle systems in Three.js. A particle system is a collection of small graphical elements, known as particles, that collectively form dynamic and visually appealing effects such as smoke, fire, or rain. Each particle in the system is rendered individually, and their positions, movements, and appearance can be controlled using JavaScript code.

Setting Up a Basic Particle System

To get started, ensure you have included the Three.js library in your project. Create a scene, camera, and renderer, and initialize the particle system within the scene. You can customize various parameters, such as the number of particles, their size, color, and movement behavior. Once everything is set up, you can add the particle system to the scene, and it will start animating.

Create the Scene

To create the scene in Three.js, start by initializing a new instance of `THREE.Scene()`. This will serve as the container for all the objects and elements you want to render in your 3D environment. It acts as an empty canvas where you'll build your virtual world.

Create the Camera

Next, create the camera using `THREE.PerspectiveCamera()`. Set the camera's field of view, aspect ratio, near and far clipping planes to define the view frustum. Position the camera in the scene to control the viewpoint and perspective of the rendered scene.

Create the Renderer

To display the 3D scene on the screen, create the renderer using `THREE.WebGLRenderer()`. Specify the renderer's properties such as alpha (to allow transparency), depth (for proper rendering of depth), and pixel ratio. Set the size of the renderer to match the window dimensions. Append the renderer's DOM element to the document body to show the rendered scene.

Create Orbit Controls

Implement interactive controls to navigate and manipulate the scene using `THREE.OrbitControls()`. Attach the controls to the camera and the renderer's DOM element. Customize the controls by enabling damping for smoother movement, setting the rotation speed, and enabling auto-rotation if desired.

Add Event Listener for Mouse Movement

Listen for the mouse movement using the `mousemove` event. When the mouse moves, obtain its coordinates and convert them to normalized device coordinates (-1 to 1). Create a raycaster from the mouse coordinates to perform intersection tests with objects in the scene. This will enable interaction with the 3D objects based on the mouse's position.

Add Particles to the Scene

To populate the scene with particles, iterate over a desired number of particles. For each particle, create a `THREE.Mesh` using `THREE.SphereGeometry` and `THREE.MeshBasicMaterial`. Customize the properties of the sphere, such as its position, size, and color. Add each particle to the scene and store them in an array for future reference.

Handle Mouse Movement Event

When the mouse moves, calculate the normalized device coordinates and create a raycaster as described earlier. Perform intersection tests between the raycaster and the particles in the scene. If any intersections occur, you can apply desired effects or transformations to the particles based on the distance between the particle and the intersection point.

Update Particle Positions

Continuously update the positions of the particles over time to create dynamic motion. Adjust the particle's position by adding its velocity vector and apply friction to gradually slow down the particles. Introduce random motion in both the vertical and horizontal directions to add a sense of organic movement to the particles.

Render the Scene

Render the scene by calling the `render` function within a `requestAnimationFrame` loop. This ensures that the scene is continuously updated and rendered on the screen. Inside the `render` function, update the particles' positions, perform any necessary calculations or transformations, and call the `render` method of the renderer, passing in the scene and camera to display the updated scene.

Resize Handling

Implement a resize handler to update the camera's aspect ratio and the renderer's size when the window is resized. This ensures that the rendered scene adapts to changes in the window dimensions and maintains the correct aspect ratio.

Conclusion

Congratulations on completing this tutorial on Three.js particle systems and mouse collision detection! You have learned how to create a mesmerizing particle simulation that responds to mouse movements. By leveraging the raycaster and intersection tests, you've added an interactive element to the particles, making them react dynamically to the user's input. This opens up a world of possibilities for creating engaging visual experiences and immersive user interactions.

Remember to experiment with different parameters and techniques to create unique particle effects. You can adjust the number, size, color, and behavior of particles to match your creative vision. Additionally, consider combining particle systems with other Three.js features like lights, shadows, and textures to take your 3D scenes to the next level.
Load This GitHub Gist Code For An Instant Demo

<!--////////////////////////////////////////////////////////////////////////////////////////
/// ///
/// Example Using Three.js Library, HTML, CSS & JavaScript ///
// 3D Interactive Web Apps & Games 2021-2024 ///
/// Contact Shane Brumback https://www.shanebrumback.com ///
/// Send a message if you have questions about this code ///
/// I am a freelance developer. I develop any and all web. ///
/// Apps Websites 3D 2D CMS Systems etc. Contact me anytime :) ///
/// ///
////////////////////////////////////////////////////////////////////////////////////////////-->
<!DOCTYPE html>
<html lang="en">
<head>
<meta charset="UTF-8">
<meta name="viewport" content="width=device-width, initial-scale=1.0">
<title>Three.js Examples - Adding Transparent PNG Images To 3D Cube</title>
<style>
body {
color: white;
text-align: center;
margin: 0;
background-color: black
}
a {
text-decoration: none;
color: white;
}
h1 {
padding: 10px;
}
</style>
</head>
<body>
<a href="http://www.shanebrumback.com/blog/threejs-examples-exploring-interactive-visual-particle-systems.html">
<h1>Threejs Examples - Exploring Interactive Visual Particle Systems</h1>
</a>
<script src="https://cdn.jsdelivr.net/npm/three@latest/build/three.min.js"></script>
<script src="https://cdn.jsdelivr.net/npm/three@latest/examples/js/controls/OrbitControls.js"></script>
<script>
// Initialize variables
var scene, camera, renderer, controls; // Add controls variable
var particles = [];
var pointLight; // Declare the point light variable
var ambientLight; // Declare the ambient light variable
// Initialize Three.js scene
function initScene() {
// Create the scene
scene = new THREE.Scene();
// Create the camera
camera = new THREE.PerspectiveCamera(75, window.innerWidth / window.innerHeight, 0.1, 1000);
camera.position.z = 3;
// Create the renderer
renderer = new THREE.WebGLRenderer({ alpha: true, depth: true });
renderer.setPixelRatio(window.devicePixelRatio);
renderer.setSize(window.innerWidth, window.innerHeight);
renderer.toneMapping = THREE.ReinhardToneMapping;
renderer.setClearColor(0x000000); // Set background color to black
renderer.domElement.style.position = 'fixed';
renderer.domElement.id = 'renderer';
renderer.domElement.style.zIndex = '-1';
renderer.domElement.style.left = '0';
renderer.domElement.style.top = '0';
document.body.appendChild(renderer.domElement);
// Create orbit controls
controls = new THREE.OrbitControls(camera, renderer.domElement);
controls.enableDamping = true; // Add damping effect for smoother control
controls.dampingFactor = 0.05;
controls.rotateSpeed = 0.2;
controls.autoRotate = true;
// Add event listener for mouse movement
document.addEventListener('mousemove', onMouseMove, false);
// Create a point light with a color and intensity
pointLight = new THREE.PointLight(0xffffff, 1);
scene.add(pointLight);
// Create an ambient light with a color and intensity
ambientLight = new THREE.AmbientLight(0x404040, 1);
scene.add(ambientLight);
// Add particles to the scene
for (var i = 0; i < 1000; i++) {
var particle = new THREE.Mesh(
new THREE.SphereGeometry(0.1, 16, 16),
new THREE.MeshPhongMaterial({ color: getRandomColor() }) // Use MeshPhongMaterial for lighting
);
particle.position.set(Math.random() * 4 - 2, Math.random() * 4 - 2, Math.random() * 4 - 2);
particle.velocity = new THREE.Vector3();
particles.push(particle);
scene.add(particle);
}
// Function to generate random color
function getRandomColor() {
var letters = '0123456789ABCDEF';
var color = '#';
for (var i = 0; i < 6; i++) {
color += letters[Math.floor(Math.random() * 16)];
}
return color;
}
}
// Handle mouse movement event
function onMouseMove(event) {
var mouse = new THREE.Vector2();
mouse.x = (event.clientX / window.innerWidth) * 2 - 1;
mouse.y = -(event.clientY / window.innerHeight) * 2 + 1;
// Create a raycaster from the mouse coordinates
var raycaster = new THREE.Raycaster();
raycaster.setFromCamera(mouse, camera);
// Check for intersection between the raycaster and particles
var intersects = raycaster.intersectObjects(particles);
if (intersects.length > 0) {
// Move particles away from the mouse position if the ray intersects with them
intersects.forEach(function (intersect) {
var particle = intersect.object;
var distance = particle.position.distanceTo(intersect.point);
if (distance < 0.5) {
var direction = new THREE.Vector3().subVectors(particle.position, intersect.point).normalize();
particle.velocity.copy(direction).multiplyScalar(0.02);
}
});
}
}
// Update particle positions
function updateParticles() {
particles.forEach(function (particle) {
particle.position.add(particle.velocity);
particle.velocity.multiplyScalar(0.98); // Apply friction to slow down particles
particle.position.y += Math.random() * 0.001 - 0.0005; // Random vertical motion
particle.position.x += Math.random() * 0.001 - 0.0005; // Random horizontal motion
particle.position.z += Math.random() * 0.001 - 0.0005; // Random depth motion
});
}
// Animate the light
function animateLight() {
// Update the light's position or any other animation you want
pointLight.position.x = Math.sin(Date.now() * 0.001) * 2; // Example: Move the point light on the x-axis based on time
}
// Render the scene
function render() {
requestAnimationFrame(render);
updateParticles();
animateLight(); // Call the animateLight function
renderer.render(scene, camera);
controls.update(); // Update orbit controls
}
// Call the initialization function and start rendering
initScene();
render();
// Resize handling
function onWindowResize() {
camera.aspect = window.innerWidth / window.innerHeight;
camera.updateProjectionMatrix();
renderer.setSize(window.innerWidth, window.innerHeight);
}
window.addEventListener('resize', onWindowResize, false);
</script>
</body>
</html>