SIMPLE
PARTICLE SYSTEM
Build a rotating field of 1,000 glowing particles in the browser with Three.js — using a single BufferGeometry and one GPU draw call.
LIVE DEMO
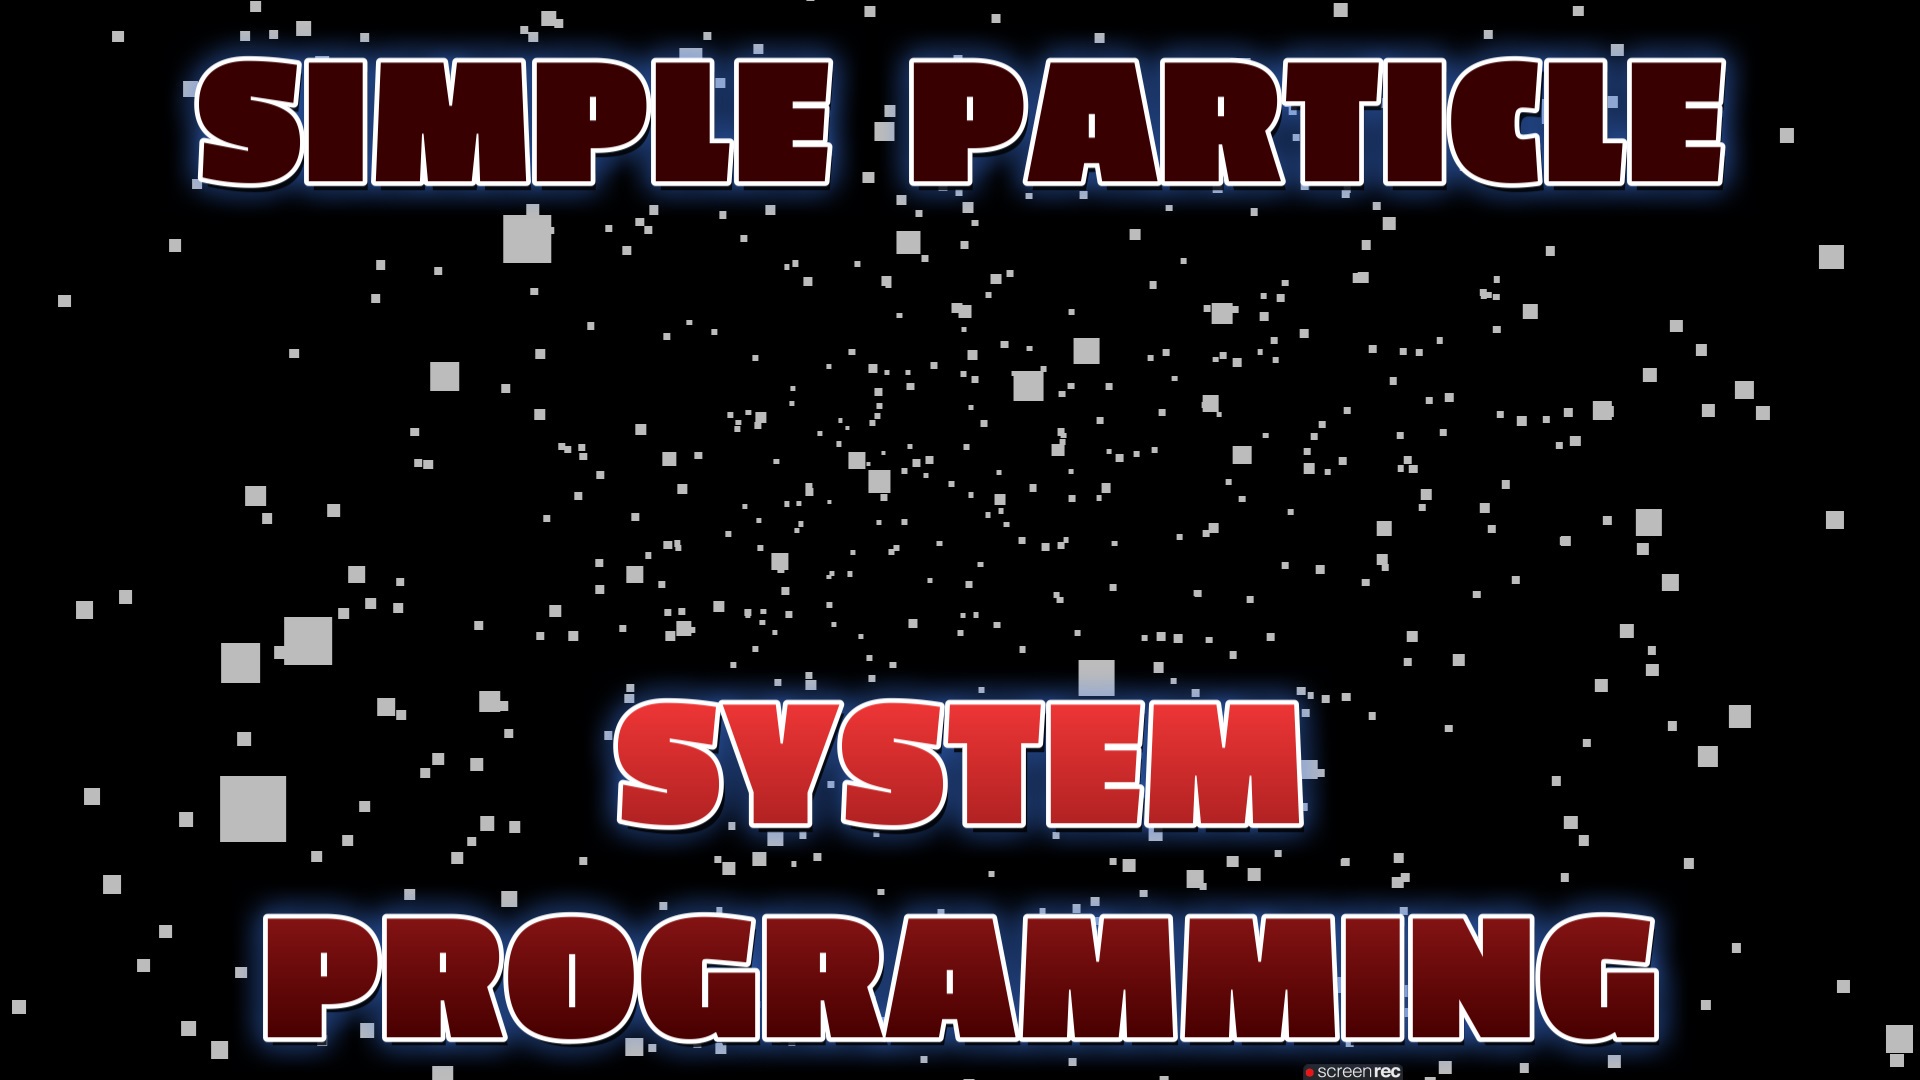
The particles rotating behind this page are the live demo. Use the buttons to pause and resume the animation.
Introduction
A particle system is one of the fastest, most rewarding effects you can build in 3D. This free tutorial creates 1,000 particles scattered through space, rendered as a single THREE.Points object so the whole field draws in one GPU call and spins smoothly at 60fps.
You will store every particle's position in one BufferGeometry, style them with a PointsMaterial, and rotate the group in the animation loop. It is under 40 lines of core code — copy it, paste it, and it runs.
Frequently Asked Questions
What is a particle system in Three.js?
A particle system renders many small points as a single object using THREE.Points. Instead of thousands of separate meshes, all particle positions are stored in one BufferGeometry and drawn in a single GPU draw call, which is extremely fast even with tens of thousands of particles.
How do you create particles with BufferGeometry?
Create a Float32Array with three values (x, y, z) per particle, fill it with positions, then attach it to a BufferGeometry using setAttribute('position', new THREE.BufferAttribute(array, 3)). Pair the geometry with a PointsMaterial and wrap both in a THREE.Points object added to the scene.
Why use THREE.Points instead of many meshes?
THREE.Points draws every particle in one draw call, so 1,000 or even 50,000 particles render at 60fps. Creating that many individual Mesh objects would tank performance because each mesh adds its own draw call and overhead.
Is this Three.js particle tutorial free?
Yes. This is a completely free tutorial. The full source code is shown on the page, you can copy it, and there is a live interactive demo running in the background. No sign-in or membership is required.
How To Add The Code
Follow these steps to get the particle system running on your own page. You only need a plain HTML file and an internet connection — Three.js loads from a CDN.
- 1Create an HTML file. Make a new file called
index.htmland add the standard<!DOCTYPE html>,<head>, and<body>tags. - 2Load Three.js from a CDN. Just before your closing
</body>tag, add the Three.js script so theTHREEobject is available. - 3Add the particle script. Below the Three.js tag, paste the full script shown below. It sets up the scene, camera, and renderer, then builds the particles.
- 4Set up the scene, camera & renderer. The renderer is pinned behind your content with
position: fixedand a negativez-indexso text sits on top. - 5Build the BufferGeometry. Fill a
Float32Arraywith three random values (x, y, z) per particle, then attach it as thepositionattribute. - 6Create the Points object. Combine the geometry with a
PointsMaterialand add the resultingTHREE.Pointsto the scene. - 7Animate and handle resize. Rotate the system inside
requestAnimationFrameand update the camera when the window resizes. - 8Open it in your browser. Double-click the file (or serve it locally) and you will see the particles spinning.
The Full Code
Paste this entire block into a file named index.html and open it in any modern browser.
<!DOCTYPE html>
<html lang="en">
<head>
  <meta charset="utf-8">
  <meta name="viewport" content="width=device-width, initial-scale=1">
  <title>Three.js Simple Particle System</title>
  <style> body { margin: 0; background: #000; } </style>
</head>
<body>

  <!-- 1. Load Three.js from a CDN -->
  <script src="https://cdn.jsdelivr.net/npm/three@latest/build/three.min.js"></script>

  <!-- 2. The particle system -->
  <script>
    // Scene, camera, renderer
    const scene = new THREE.Scene();
    const camera = new THREE.PerspectiveCamera(
      75, window.innerWidth / window.innerHeight, 0.1, 1000
    );
    camera.position.z = 5;

    const renderer = new THREE.WebGLRenderer({ antialias: true });
    renderer.setPixelRatio(window.devicePixelRatio);
    renderer.setSize(window.innerWidth, window.innerHeight);
    renderer.setClearColor(0x000000);
    document.body.appendChild(renderer.domElement);

    // Build 1,000 particles in one BufferGeometry
    const particleCount = 1000;
    const geometry = new THREE.BufferGeometry();
    const positions = new Float32Array(particleCount * 3);

    for (let i = 0; i < particleCount; i++) {
      const j = i * 3;
      positions[j]     = Math.random() * 10 - 5; // x
      positions[j + 1] = Math.random() * 10 - 5; // y
      positions[j + 2] = Math.random() * 10 - 5; // z
    }
    geometry.setAttribute('position', new THREE.BufferAttribute(positions, 3));

    // Style the points and create the system
    const material = new THREE.PointsMaterial({ color: 0xffffff, size: 0.1 });
    const particleSystem = new THREE.Points(geometry, material);
    scene.add(particleSystem);

    // Animation loop
    function animate() {
      requestAnimationFrame(animate);
      particleSystem.rotation.x += 0.01;
      particleSystem.rotation.y += 0.01;
      renderer.render(scene, camera);
    }
    animate();

    // Keep it sharp on resize
    window.addEventListener('resize', () => {
      camera.aspect = window.innerWidth / window.innerHeight;
      camera.updateProjectionMatrix();
      renderer.setSize(window.innerWidth, window.innerHeight);
    });
  </script>
</body>
</html>
What To Try Next
- Bump
particleCountto 20,000 — it still runs fast because it is one draw call. - Change the
PointsMaterialcolor, or setvertexColors: trueand give each particle its own color. - Load a small PNG as the point texture with
mapandtransparent: truefor glowing sprites. - Animate individual particle positions each frame for flowing, organic motion.
SEE 3D AND 2D BROWSER GAMES IN ACTION
Built with Three.js and JavaScript — free, no download, plays right in your browser.
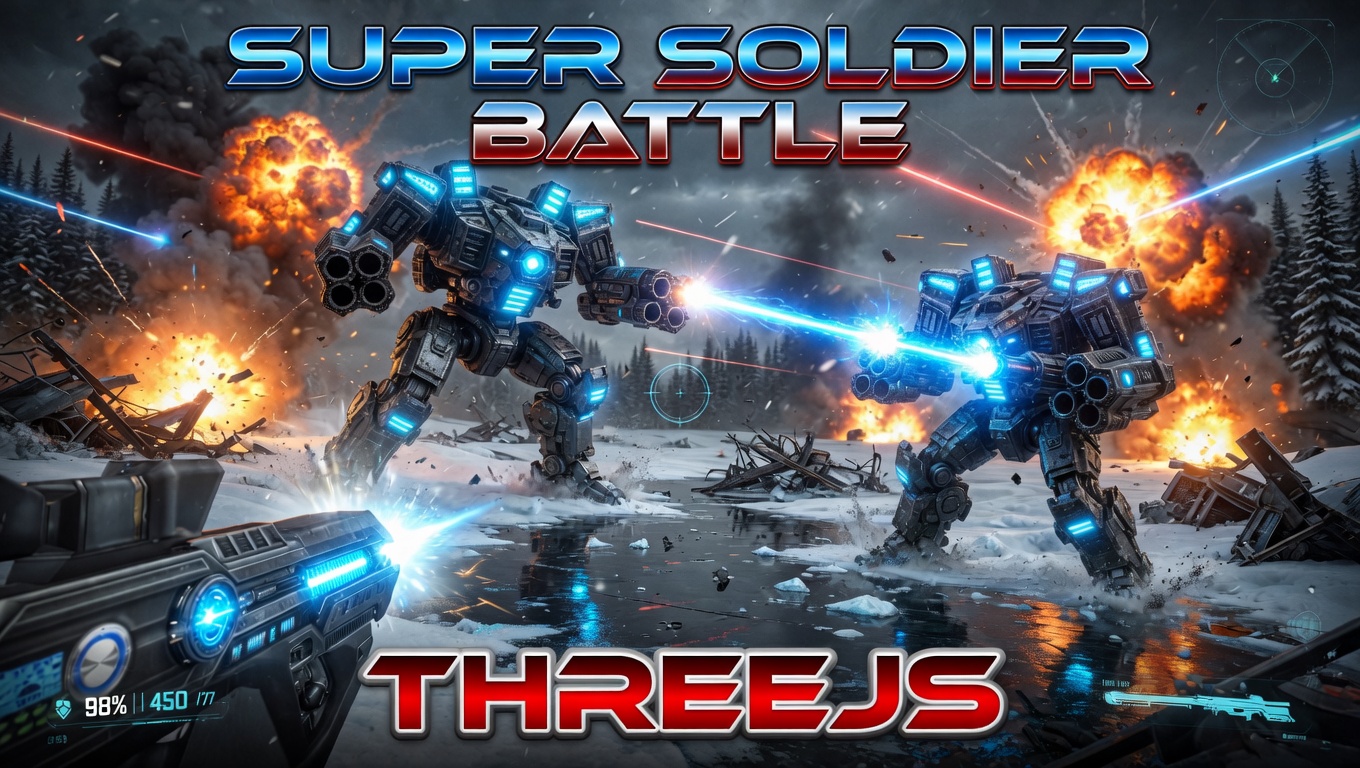
Super Soldier Battle
Free 3D multiplayer FPS built with Three.js and WebGL. Destroy the enemy bots and turrets, climb the leaderboard.
Play now →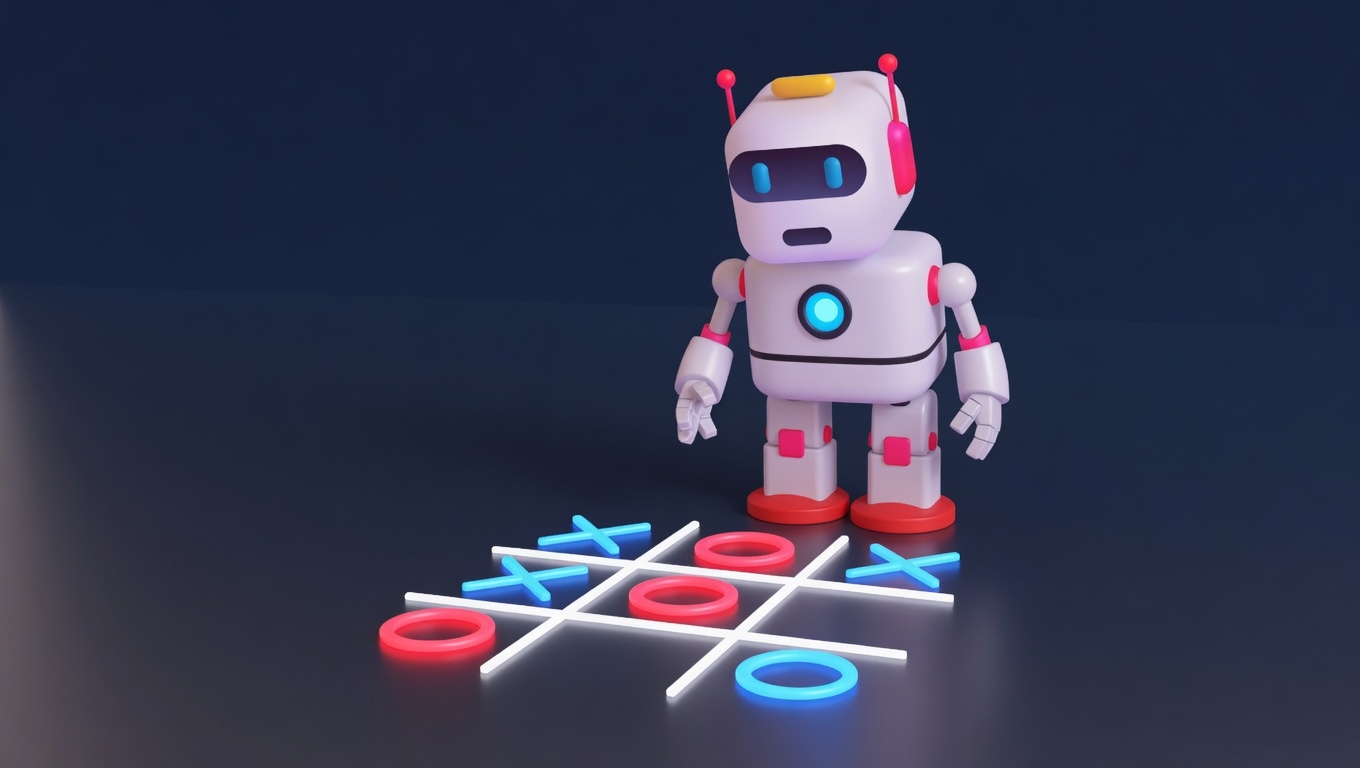
AI Tic-Tac-Toe
Play the classic game against an AI opponent right in your browser. Free, no download, with an online leaderboard.
Play now →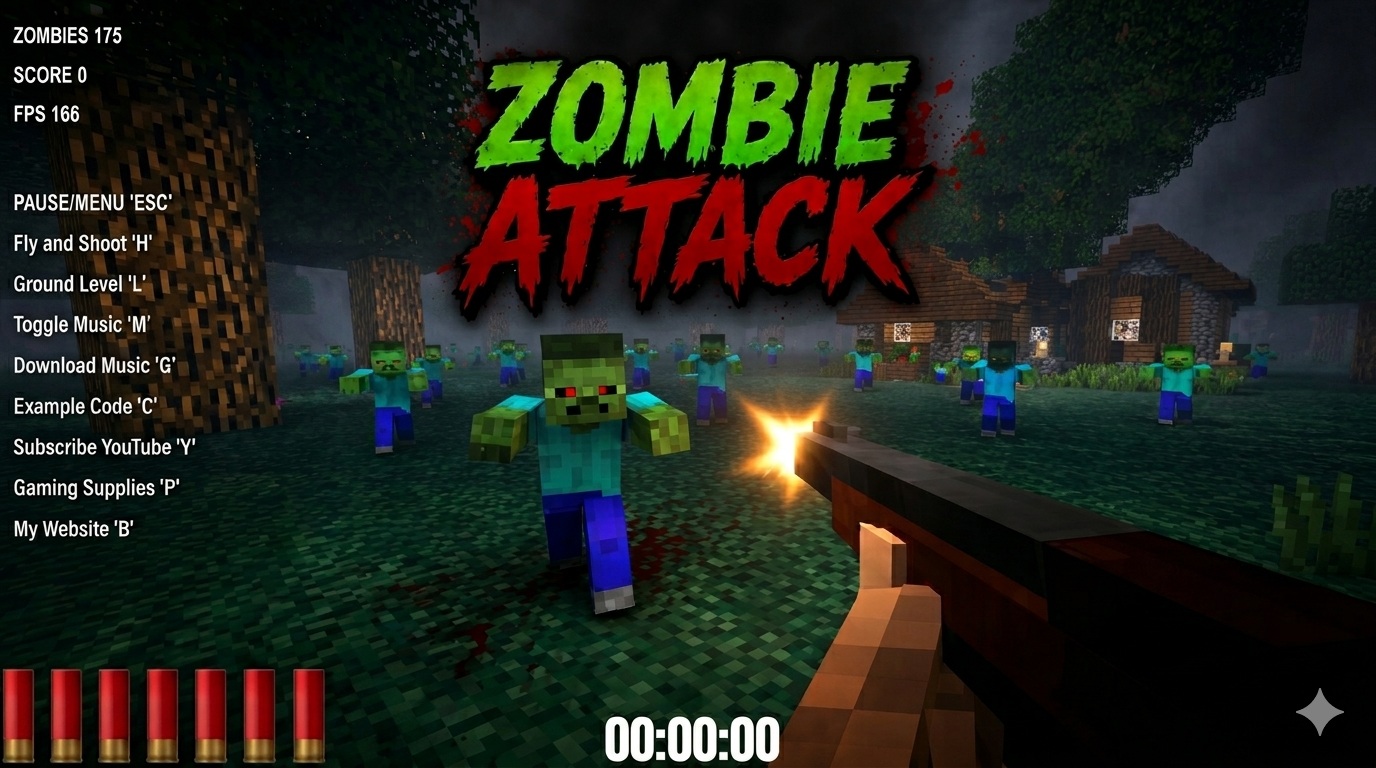
Zombie Attack
Survive waves of zombies in this free 3D browser shooter built with Three.js. No download, plays instantly.
Play now →
Space Wow
Blast through space in this free 3D Three.js arcade shooter. Free, no download, plays right in your browser.
Play now →