The Power of Three.js: Creating Captivating Particle Systems
Three.js: Unleash Your Creativity with 3D Graphics
Three.js is a powerful JavaScript library that empowers developers to unleash their creativity and render mesmerizing 3D graphics directly in the browser. With its comprehensive framework, Three.js enables the creation of interactive and immersive experiences, from simple 3D objects to complex scenes and animations. One of the standout features of Three.js is its ability to generate dynamic and visually stunning particle systems, breathing life into web applications and games.

Explore Particle Systems in Three.js
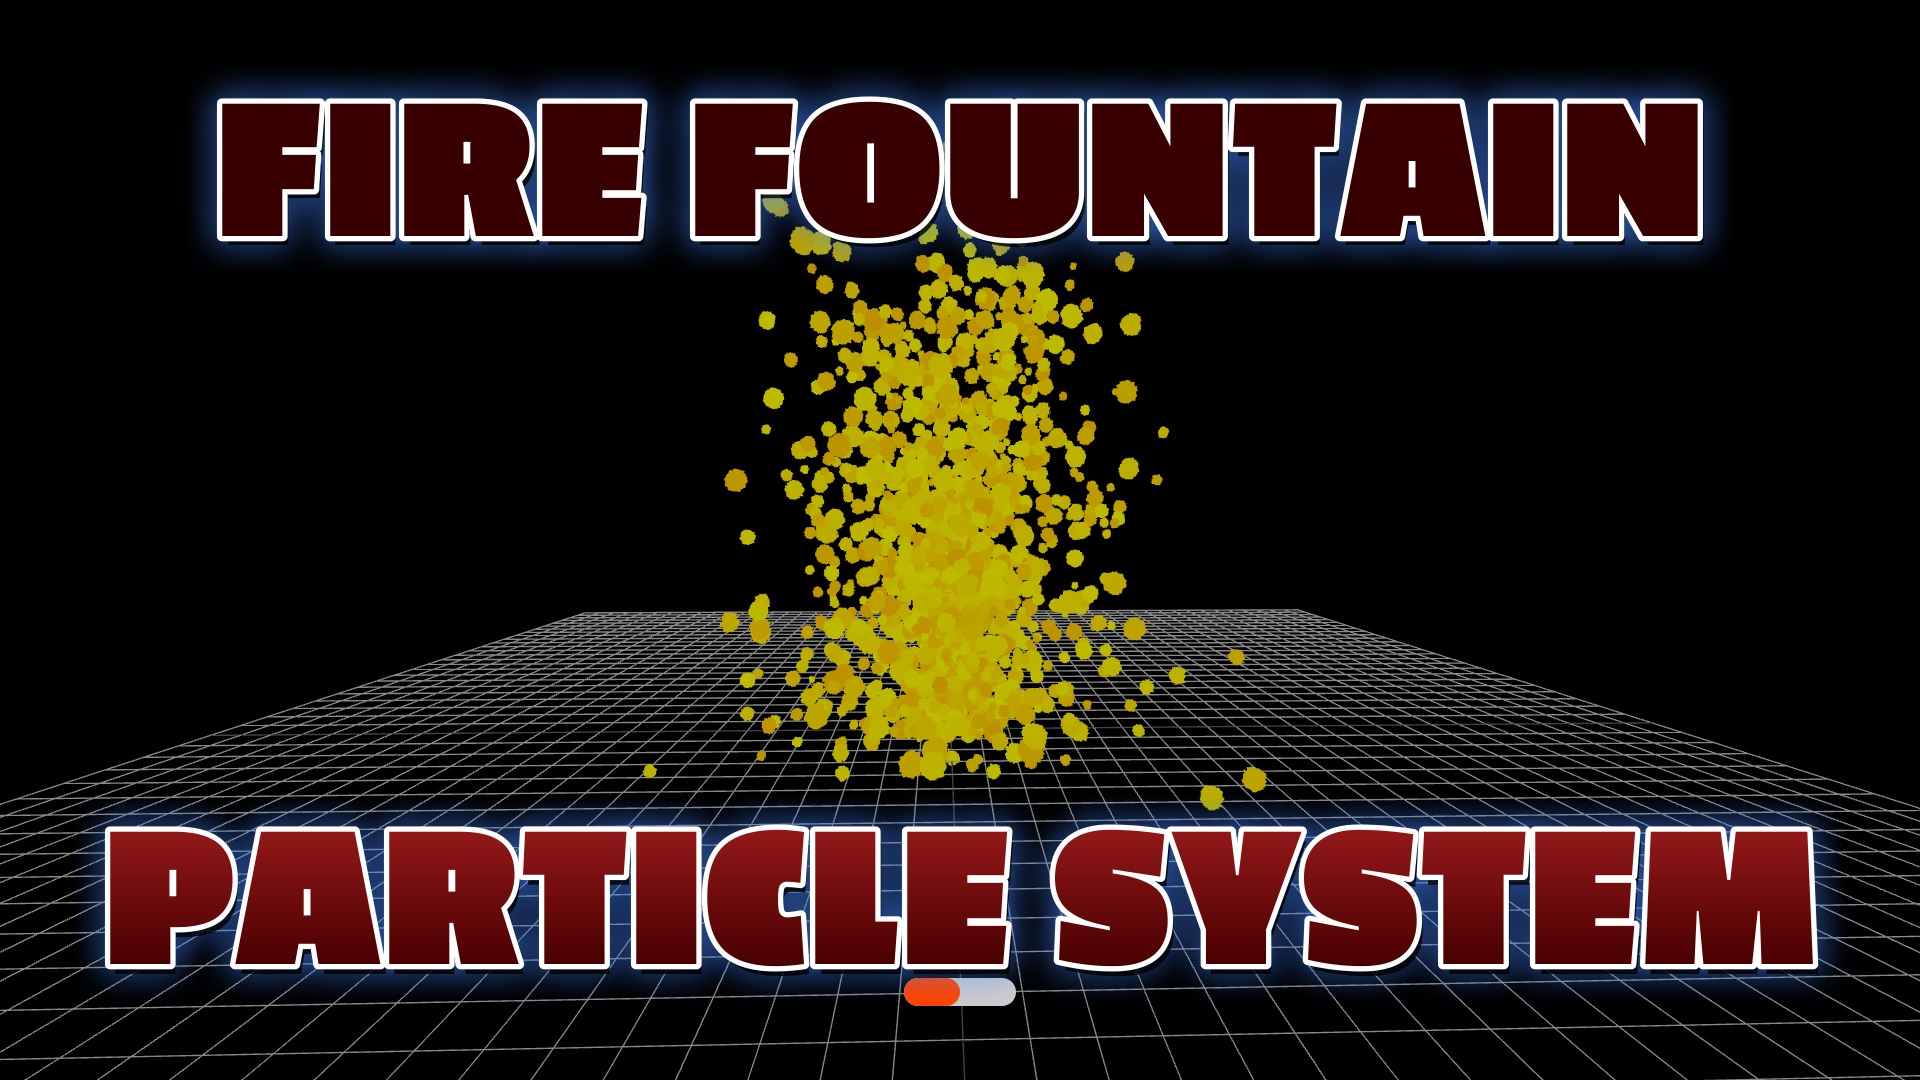
A particle system is a visual effect that simulates the behavior of a group of small particles. These particles can represent a wide range of elements, such as dust, smoke, fire, sparks, or any other visual effect involving the movement and behavior of individual particles. In Three.js, particle systems offer a wealth of customization options, allowing developers to define the characteristics and properties of the particles themselves. From their position, size, color, velocity, to their lifespan, every aspect can be fine-tuned to achieve the desired visual effect.
Create Dynamic Particle Effects with Three.js
Beyond basic properties, developers can apply forces and animations to manipulate the particles, bringing them to life and creating dynamic effects. These forces can simulate gravity, wind, or any other physical phenomenon, adding a layer of realism to the particle system. By leveraging the power of Three.js, developers have the freedom to create stunning and realistic particle effects that enhance the visual interest and interactivity of their web applications and games.
Applications of Particle Systems
Particle systems find applications in various domains, including gaming, visualizations, simulations, and artistic presentations. In gaming, particle systems are commonly used to create explosions, magic effects, and atmospheric phenomena. In visualizations, they help convey complex data in a more intuitive and engaging manner. Simulations, such as fluid dynamics or weather modeling, benefit from particle systems to represent realistic behavior. Additionally, particle systems are a valuable tool for artistic presentations, enabling artists to express their creativity and evoke emotions through captivating visual effects.
Explore Three.js Further
If you're interested in exploring the capabilities of Three.js and particle systems further, the official Three.js home page is an excellent resource. There, you'll find a collection of demos and interactive projects that showcase the versatility and potential of Three.js for creating captivating 3D visual effects. These examples span various industries and use cases, providing inspiration and insights for your own projects.
Get in Touch for Assistance
If you have any questions or need assistance in implementing particle systems using Three.js, feel free to reach out. Simply click on the contact icon below, and I'll be more than happy to help you on your creative journey. Let's unlock the full potential of Three.js and create captivating and immersive experiences together!
Three.js Programming Books
Recent Blog Posts & Updates
- Date - - Threejs
- Date - - Using Threejs To Develop Online 3D Browser Games
- Date - - Using Threejs Pointer Lock Controls For Online 3D Games
- Date - - The Advantages Of Creating 3D Interactive Menus And Websites Using Threejs
- Date - - Threejs Examples Exploring Interactive Visual Particle Systems
- Subscribe To My RSS Feed For Live Updates
- More Examples and Tutorials
Programming a Rocket Particle System
Programming a 3D Scene with Orbit Controls and Rocket Exhaust Particles
In this tutorial, we will walk you through the process of creating a 3D scene with interactive orbit controls and animated rocket exhaust particles using Three.js. By following the steps below, you'll be able to build an engaging and dynamic 3D experience. Let's get started!
Step 1: Setting Up the Scene
The first step is to set up the scene by initializing the necessary global variables. Create a Three.js scene and set up a perspective camera with an initial position and zoom level.
Step 2: Configuring the Renderer
Next, configure the renderer settings. Create a WebGLRenderer with the desired properties, such as antialiasing and alpha transparency. Set the renderer's size to match the window dimensions and customize its appearance, such as setting a black background color.
Step 3: Adding Orbital Controls
Now, it's time to add orbital controls to allow the user to interact with the scene. Create an instance of OrbitControls and associate it with the camera and renderer. Adjust the control's properties to customize the behavior, such as the rotation speed and damping factor.
Step 4: Handling Window Resize
To ensure that the scene and camera aspect ratio are updated correctly when the window is resized, add an event listener for the window's resize event. In the event handler function, update the camera's aspect ratio and projection matrix, and resize the renderer accordingly.
Step 5: Handling Mouse Click
If you want to handle mouse clicks in your scene, create a function to capture the mouse coordinates when a click event occurs. Use the event's clientX and clientY properties to calculate normalized coordinates within the scene.
Step 6: Creating Particle Effects
To add dynamic particle effects to your scene, you can create a particle system using Three.js. Define a particle geometry with the desired number of particles and set their initial positions. Customize the appearance of the particles with a material. Finally, add the particle system to the scene.
Step 7: Animating the Scene
To animate the scene, you need to create an animation loop using the requestAnimationFrame method. In each frame, update the particle positions or any other dynamic elements. Finally, call the renderer's render method to display the updated scene.
By following these steps, you can create an interactive 3D scene with orbit controls and animated particle effects. Feel free to experiment and customize the code to suit your specific needs and creative vision. Happy coding!