INTERACTIVE
SMILEY PARTICLES
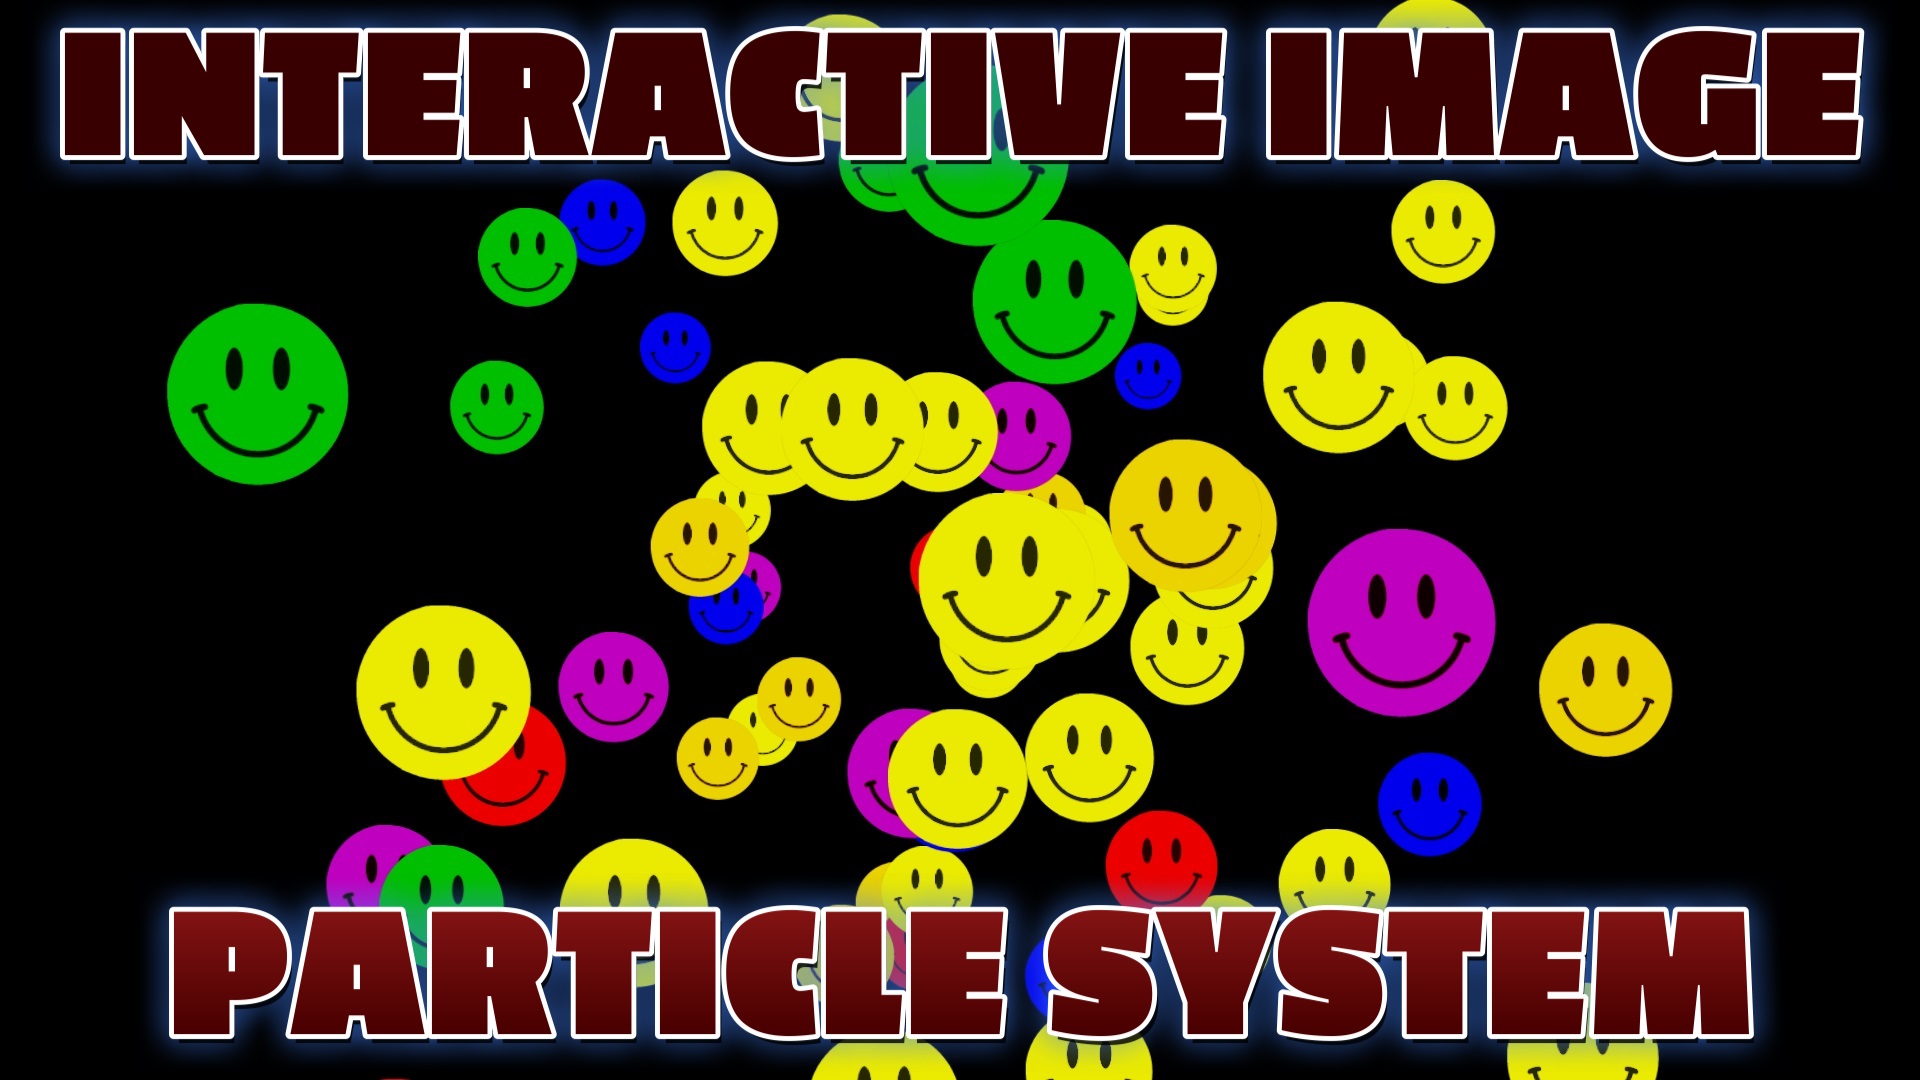
Build a particle system of smiley-face images that scatter away from your mouse in real time, using Three.js and raycasting.
LIVE DEMO
The floating smiley faces behind this page are the live demo. Move your mouse over them and they scatter away, then drift back. Scroll to keep reading — on mobile just swipe to scroll.
Introduction
This free tutorial builds a playful interactive particle system: dozens of smiley-face images floating in 3D space that react to your cursor. Move the mouse near them and they push away; move it off and they ease back to where they started.
The two key techniques are image particles (textured planes) and raycasting for mouse interaction. The same pattern powers hover effects, clickable 3D objects, and interactive art. Copy the code below and it runs.
Frequently Asked Questions
How do you make a Three.js particle system interactive with the mouse?
Use a Raycaster. Convert the mouse's screen position to normalized device coordinates (-1 to 1), call raycaster.setFromCamera(mouse, camera), then raycaster.intersectObjects(particles). For any particle the ray hits, push it away by giving it a velocity in the direction from the intersection point to the particle.
How do you use an image as a particle in Three.js?
Create a small PlaneGeometry and give it a material with a texture loaded via THREE.TextureLoader. Set transparent: true so the PNG's transparency shows. Each plane becomes one image particle. Reuse a single loaded texture across all particles for best performance.
What is raycasting in Three.js?
Raycasting shoots an invisible ray from the camera through a screen point (like the mouse) into the 3D scene and reports which objects it hits. It is the standard way to detect clicks, hovers, and pointer interaction with 3D objects in Three.js.
How do you make particles return to their original position?
Store each particle's starting position in an originalPosition property when you create it. Each frame, lerp the particle back toward that original position with a small factor. When the mouse pushes a particle away, it drifts, then smoothly eases back home once the mouse leaves.
Is this Three.js particle tutorial free?
Yes. This is a completely free tutorial. The full source code is on the page, you can copy it, and the smiley particles reacting to your mouse behind this page are the live demo. No sign-in or membership is required.
How It Works
- 1Scene, camera, renderer. Standard Three.js setup with a transparent renderer pinned behind the page content.
- 2Load one texture. Load
smiley.pngonce withTextureLoaderand reuse it for every particle. - 3Build image particles. For each particle, make a small
PlaneGeometrywith a transparent textured material, scatter it, and store itsoriginalPosition. - 4Track the mouse. On pointer move, convert screen coords to normalized device coordinates and update a
Raycaster. - 5Push on hover. Any particle the ray intersects gets a velocity pointing away from the mouse, so it scatters.
- 6Ease back home. Each frame, lerp particles toward their original position so they drift back once the mouse leaves.
The Full Code
Paste this into a file named index.html and open it in any modern browser — the smiley image loads from a URL so it works right away. Press Launch above to run it now.
<!DOCTYPE html>
<html lang="en">
<head>
  <meta charset="utf-8">
  <meta name="viewport" content="width=device-width, initial-scale=1">
  <title>Three.js Interactive Smiley Particles</title>
  <style> body { margin: 0; background: #000; } </style>
  <script type="importmap">
  {
    "imports": {
      "three": "https://cdn.jsdelivr.net/npm/three@0.160/build/three.module.js"
    }
  }
  </script>
</head>
<body>
<script type="module">
  import * as THREE from 'three';

  const scene = new THREE.Scene();
  const camera = new THREE.PerspectiveCamera(
    75, window.innerWidth / window.innerHeight, 0.1, 1000);
  camera.position.z = 5;

  const renderer = new THREE.WebGLRenderer({ antialias: true });
  renderer.setPixelRatio(window.devicePixelRatio);
  renderer.setSize(window.innerWidth, window.innerHeight);
  renderer.setClearColor(0x05070d);
  document.body.appendChild(renderer.domElement);

  scene.add(new THREE.AmbientLight(0xffffff, 3));

  // One shared texture for every particle (swap this URL for your own PNG)
  const texture = new THREE.TextureLoader().load('https://www.shanebrumback.com/images/smiley.png');
  const colors = ['red', 'yellow', 'green', 'blue', 'orange', 'purple'];

  const particles = [];
  for (let i = 0; i < 75; i++) {
    const mat = new THREE.MeshBasicMaterial({
      map: texture, color: colors[(Math.random() * colors.length) | 0], transparent: true
    });
    const p = new THREE.Mesh(new THREE.PlaneGeometry(0.75, 0.75), mat);
    p.position.set(Math.random() * 8 - 4, Math.random() * 8 - 4, Math.random() * 6 - 3);
    p.originalPosition = p.position.clone();
    p.velocity = new THREE.Vector3();
    particles.push(p);
    scene.add(p);
  }

  // Mouse -> raycaster
  const mouse = new THREE.Vector2(-10, -10);
  const raycaster = new THREE.Raycaster();
  window.addEventListener('pointermove', (e) => {
    mouse.x = (e.clientX / window.innerWidth) * 2 - 1;
    mouse.y = -(e.clientY / window.innerHeight) * 2 + 1;
  });

  function animate() {
    requestAnimationFrame(animate);

    raycaster.setFromCamera(mouse, camera);
    const hits = raycaster.intersectObjects(particles);
    hits.forEach(hit => {
      const dir = new THREE.Vector3()
        .subVectors(hit.object.position, hit.point).normalize();
      hit.object.velocity.copy(dir).multiplyScalar(0.06);
    });

    const t = Math.sin(Date.now() * 0.002);
    particles.forEach(p => {
      p.position.add(p.velocity);
      p.velocity.multiplyScalar(0.95);       // friction
      const target = new THREE.Vector3(
        p.originalPosition.x + t * 0.04,
        p.originalPosition.y + t * 0.1,
        p.originalPosition.z + t * 0.04
      );
      p.position.lerp(target, 0.02);          // ease back home
    });

    renderer.render(scene, camera);
  }
  animate();

  window.addEventListener('resize', () => {
    camera.aspect = window.innerWidth / window.innerHeight;
    camera.updateProjectionMatrix();
    renderer.setSize(window.innerWidth, window.innerHeight);
  });
</script>
</body>
</html>
What To Try Next
- Swap
smiley.pngfor your own logo or emoji PNG. - Increase the particle count and use
InstancedMeshfor thousands of particles. - Attract instead of repel — flip the direction vector so particles chase the cursor.
- Make particles always face the camera (billboarding) by copying
camera.quaternioneach frame.
SEE 3D AND 2D BROWSER GAMES IN ACTION
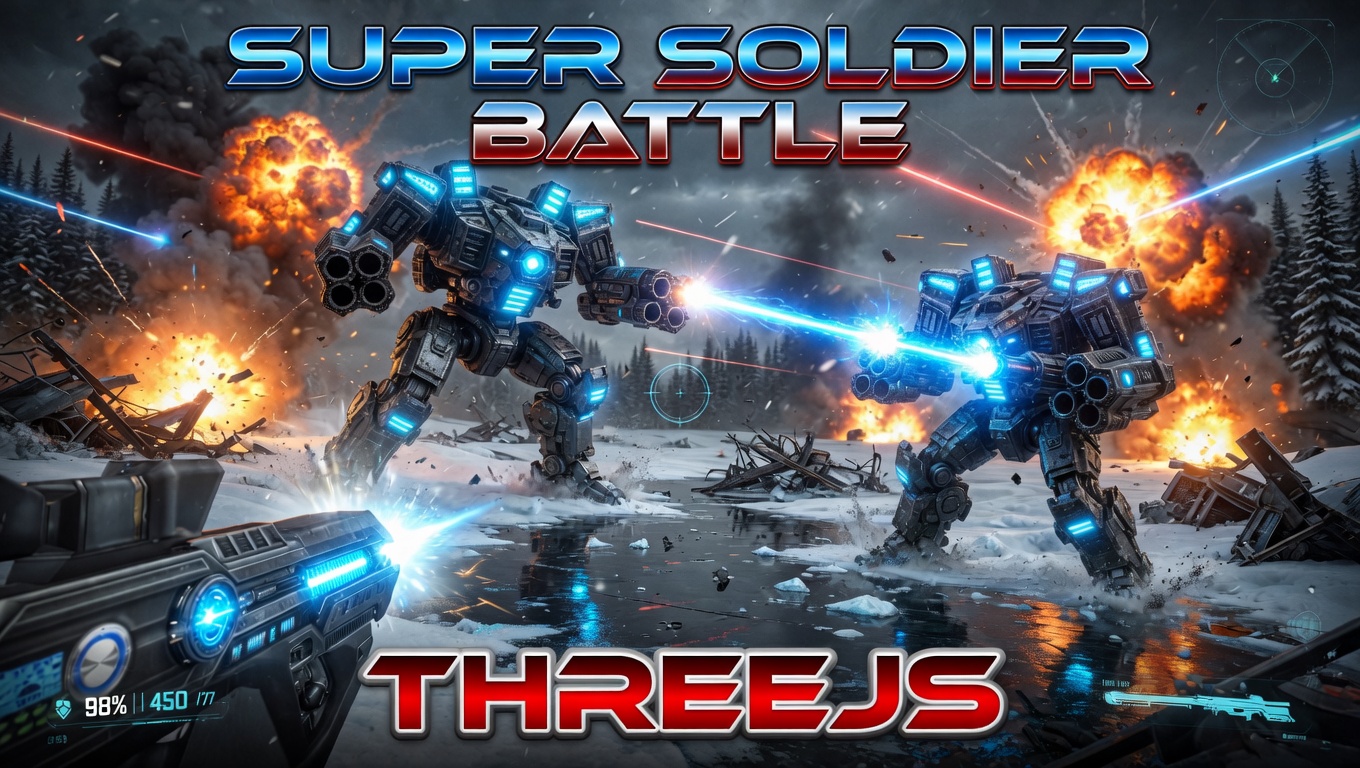
Super Soldier Battle
A free multiplayer 3D FPS that runs right in your browser — built with Three.js and WebGL.
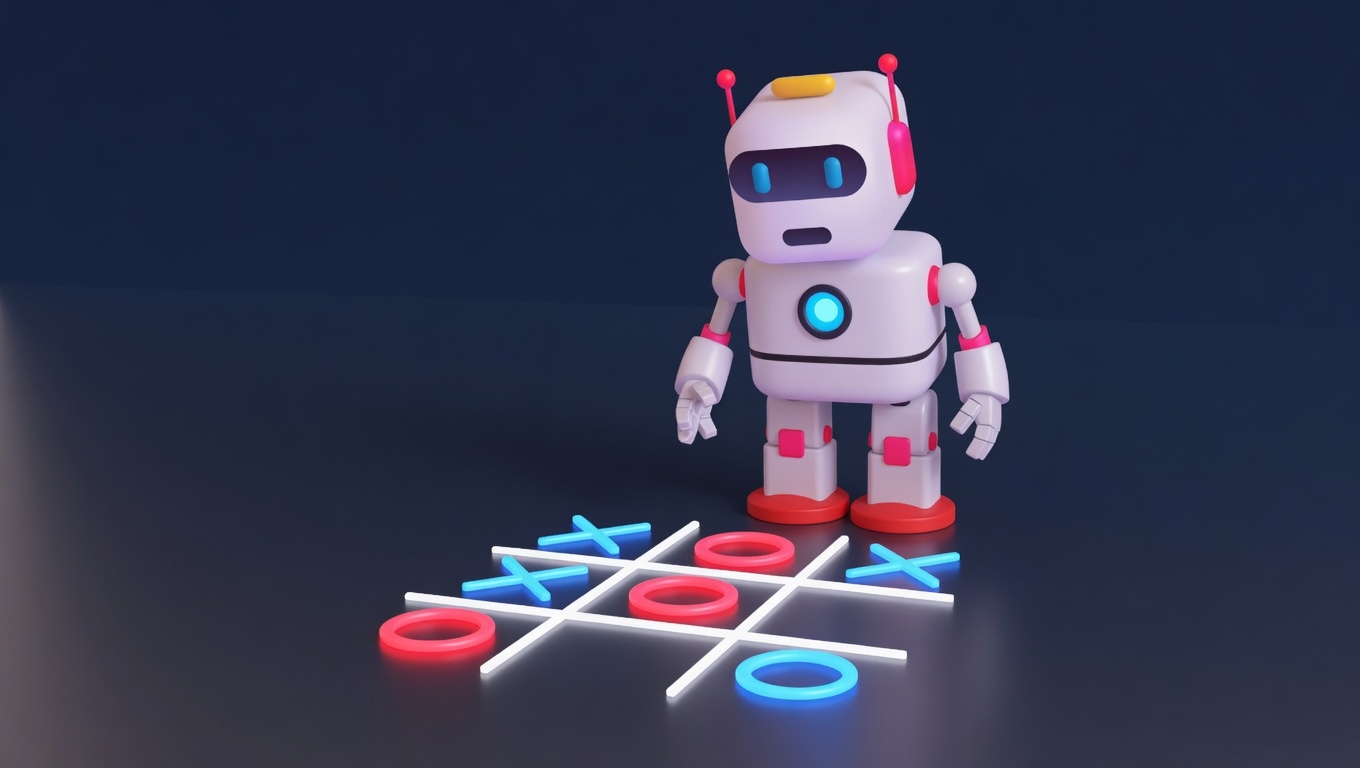
AI Tic-Tac-Toe
Play tic-tac-toe against an unbeatable AI opponent. Free, no download, plays in the browser.
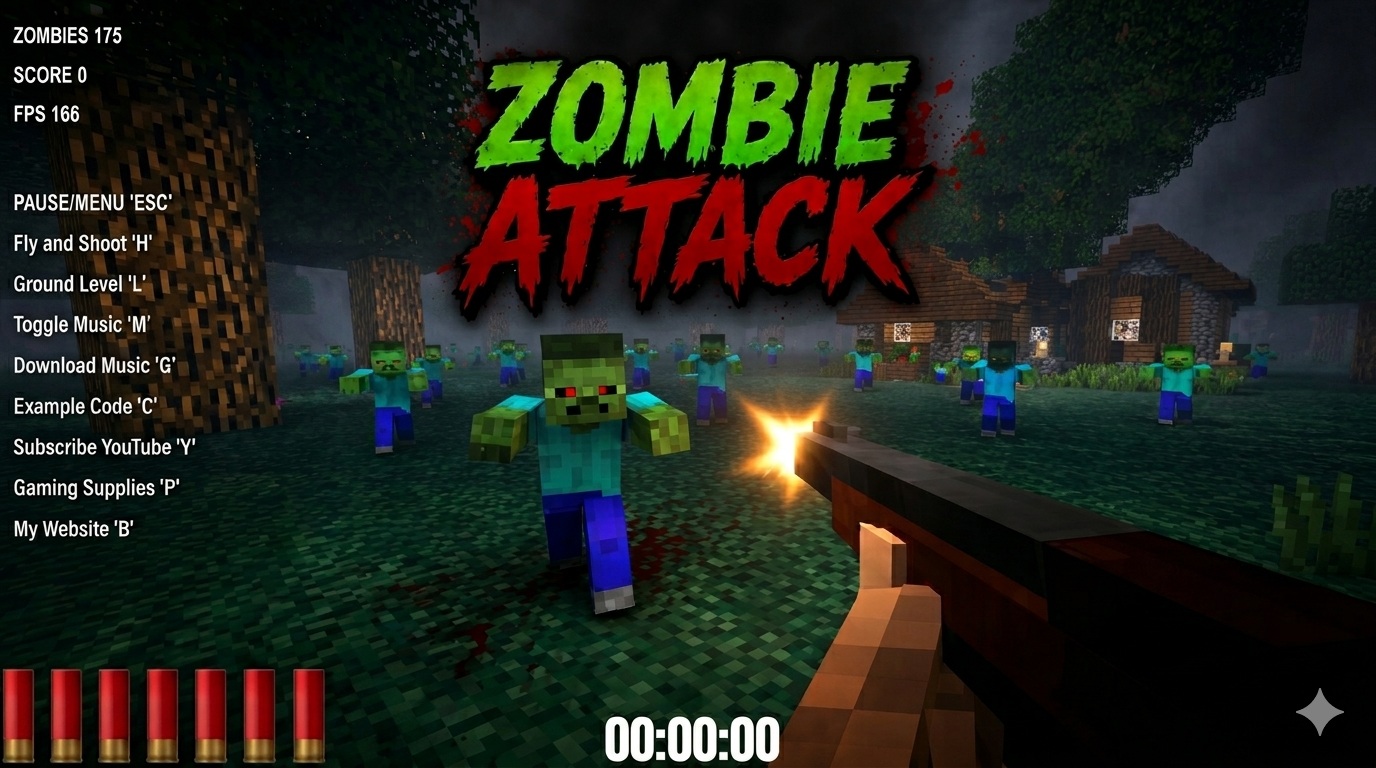
Zombie Attack
Survive waves of zombies in this free 3D browser shooter built with Three.js. No download, plays instantly.
Play now →
Space Wow
Blast through space in this free 3D Three.js arcade shooter. Free, no download, plays right in your browser.
Play now →