FLASHING
FRAGMENT SHADERS
Program a flashing, pulsing fragment shader on a 3D cube in the browser with Three.js — a single time uniform drives the whole animated glow.
LIVE DEMO
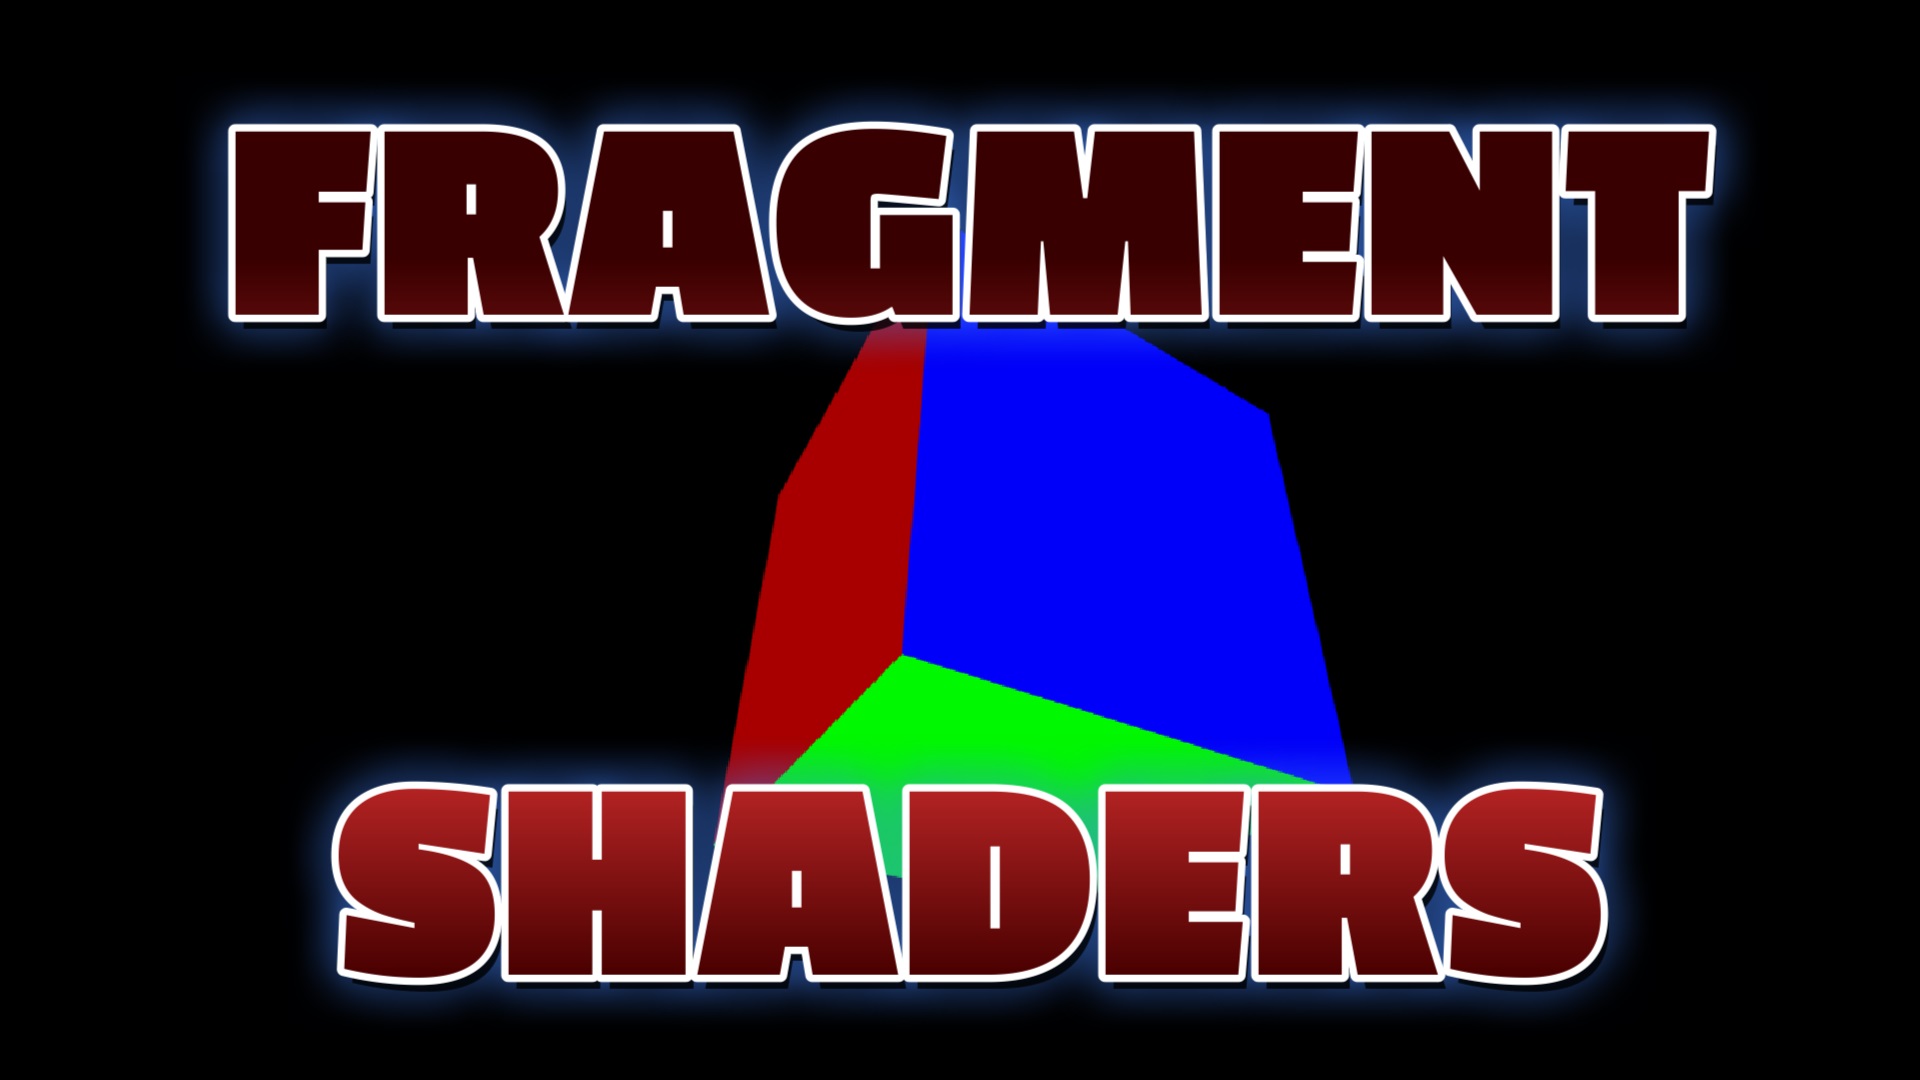
The pulsing, color-shifting cube behind this page is the live demo — a single fragment shader driven by a time uniform. Click and drag with the mouse to orbit. Scroll to keep reading — on mobile just swipe to scroll.
Introduction
A fragment shader is a tiny GLSL program that runs on the GPU once for every pixel of a surface. Because it runs per-pixel in parallel, it can produce smooth animated effects — glows, gradients, pulses — that would be far too slow to compute in JavaScript.
In this free tutorial you'll build a flashing effect: a cube whose color pulses over time. The trick is a single time uniform you increment every frame, fed into sin() and cos() inside the shader. Copy it, paste it, and it runs.
Frequently Asked Questions
What is a fragment shader in Three.js?
A fragment shader (also called a pixel shader) is a GLSL program that runs on the GPU for every pixel of a rendered object. It determines the final color of each pixel. In Three.js, you use it via ShaderMaterial with a fragmentShader string property.
How do I create a flashing effect with a fragment shader?
Pass a uniform float for time, updated each frame, then use sin(time) in the fragment shader to oscillate color or brightness. For example vec3 color = 0.5 + 0.5 * sin(time) makes the color pulse smoothly between dark and bright, creating a flashing effect.
What are uniforms in Three.js shaders?
Uniforms are variables passed from JavaScript to the shader that stay constant for all pixels in a single draw call. Common uniforms include time (for animation), resolution, mouse position, and colors. Update them each frame with material.uniforms.time.value += 0.05.
How do I use ShaderMaterial in Three.js?
Create a new THREE.ShaderMaterial with uniforms, a vertexShader, and a fragmentShader written in GLSL as template strings. Apply the material to any mesh geometry, then update the uniforms in your animation loop to animate the effect.
Is this Three.js shader tutorial free?
Yes. This is a completely free tutorial. The full source code is on the page, you can copy it, and the flashing shader cube behind this page is the live demo. No sign-in or membership is required.
How It Works
- 1Scene, camera, renderer. Standard Three.js setup with a transparent renderer pinned behind the page content.
- 2Add a time uniform. Create a
ShaderMaterialwithuniforms: { time: { value: 0 } }. - 3Vertex shader. Pass the surface normal to the fragment shader as a
varyingand position the vertex. - 4Fragment shader. Build a color from
sin(time)/cos(time)so it pulses, then multiply by the normal for a shaded, glowing look. - 5Animate. Each frame bump
material.uniforms.time.valueand spin the cube. - 6Render. Draw inside
requestAnimationFramefor a smooth 60fps flash.
The Full Code
Paste this into a file named index.html and open it in any modern browser.
<!DOCTYPE html>
<html lang="en">
<head>
  <meta charset="utf-8">
  <meta name="viewport" content="width=device-width, initial-scale=1">
  <title>Three.js Flashing Fragment Shader</title>
  <style> body { margin: 0; background: #000; } </style>
  <script type="importmap">
  {
    "imports": {
      "three": "https://cdn.jsdelivr.net/npm/three@0.160/build/three.module.js",
      "three/addons/": "https://cdn.jsdelivr.net/npm/three@0.160/examples/jsm/"
    }
  }
  </script>
</head>
<body>
<script type="module">
  import * as THREE from 'three';
  import { OrbitControls } from 'three/addons/controls/OrbitControls.js';

  const scene = new THREE.Scene();
  const camera = new THREE.PerspectiveCamera(
    75, window.innerWidth / window.innerHeight, 0.1, 1000);
  camera.position.z = 2;

  const renderer = new THREE.WebGLRenderer({ antialias: true });
  renderer.setPixelRatio(window.devicePixelRatio);
  renderer.setSize(window.innerWidth, window.innerHeight);
  renderer.setClearColor(0x000000);
  document.body.appendChild(renderer.domElement);

  new OrbitControls(camera, renderer.domElement);

  // --- Flashing shader material ---
  const material = new THREE.ShaderMaterial({
    uniforms: { time: { value: 0.0 } },
    vertexShader: `
      varying vec3 vNormal;
      void main() {
        vNormal = normal;
        gl_Position = projectionMatrix * modelViewMatrix * vec4(position, 1.0);
      }
    `,
    fragmentShader: `
      uniform float time;
      varying vec3 vNormal;
      void main() {
        // pulse each channel with sin/cos of time -> flashing effect
        vec3 color = vec3(
          0.5 + 0.5 * sin(time),
          0.5 + 0.5 * cos(time),
          0.5 + 0.5 * cos(time)
        );
        // abs(vNormal) keeps ALL six faces lit; raw normals go negative on the
        // -X/-Y/-Z faces and clamp to black (only some sides would show color)
        gl_FragColor = vec4(color * (0.35 + 0.65 * abs(vNormal)), 1.0);
      }
    `
  });

  const cube = new THREE.Mesh(new THREE.BoxGeometry(1, 1, 1), material);
  scene.add(cube);

  // --- Animate ---
  function animate() {
    requestAnimationFrame(animate);
    material.uniforms.time.value += 0.05;   // drive the flash
    cube.rotation.x += 0.01;
    cube.rotation.y += 0.01;
    renderer.render(scene, camera);
  }
  animate();

  window.addEventListener('resize', () => {
    camera.aspect = window.innerWidth / window.innerHeight;
    camera.updateProjectionMatrix();
    renderer.setSize(window.innerWidth, window.innerHeight);
  });
</script>
</body>
</html>
What To Try Next
- Multiply
timeby a bigger number (e.g.sin(time * 5.0)) to flash faster. - Flash the alpha channel instead of color for a fading strobe (set
transparent: true). - Add a
resolutionand mouse uniform so the pattern reacts to the cursor. - Swap the box for a sphere or torus knot — the same shader works on any geometry.
SEE 3D AND 2D BROWSER GAMES IN ACTION
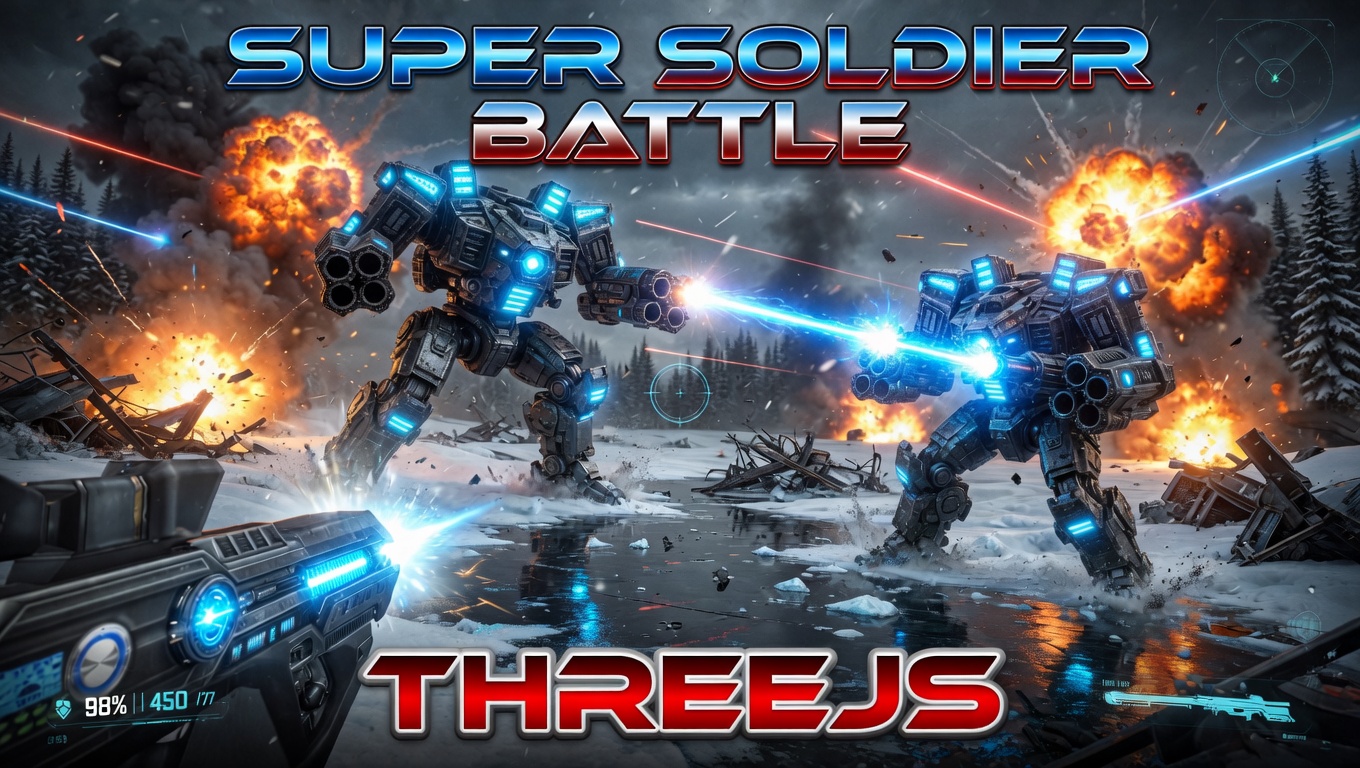
Super Soldier Battle
A free multiplayer 3D FPS that runs right in your browser — built with Three.js and WebGL.

AI Tic-Tac-Toe
Play tic-tac-toe against an unbeatable AI opponent. Free, no download, plays in the browser.
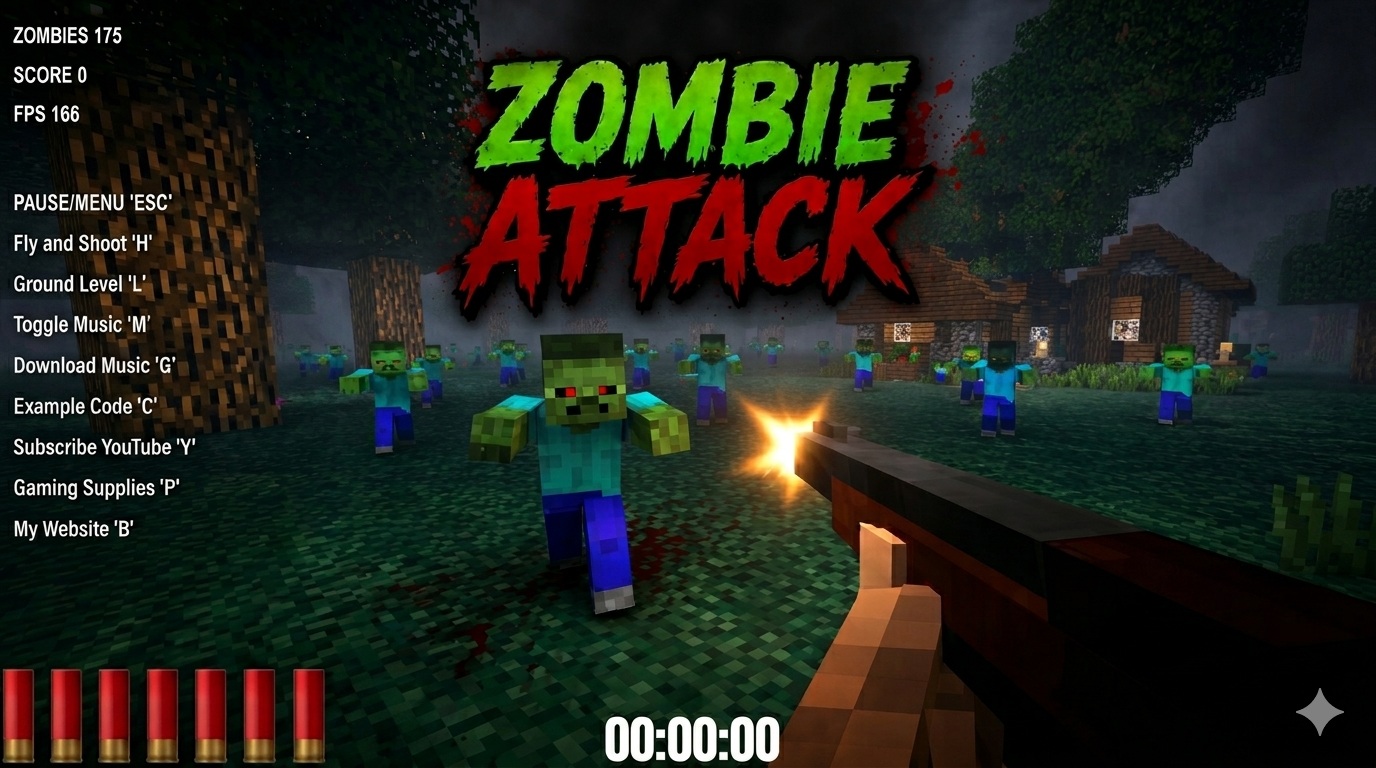
Zombie Attack
Survive waves of zombies in this free 3D browser shooter built with Three.js. No download, plays instantly.
Play now →
Space Wow
Blast through space in this free 3D Three.js arcade shooter. Free, no download, plays right in your browser.
Play now →